K2 Designer for SharePoint - Custom User Task
A user task is that point in the workflow that requires some human interaction; i.e. a workflow participant is required to do something. The Custom User Task facilitates the interaction with a workflow participant to complete an action/actions. Custom User Tasks define the actual points of interaction between the participants and the workflow. Adding events (client and server) entails considering:
- What needs to be done?
- The sequence in which it needs to happen?
- Who needs to be involved (participants) - and at what stage?
- What data the event needs?
- The sequencing and the participants are particularly important - as they provide clues as to when multiple events can be added to the same activity.
The Custom User Task generates an automated Task which is sent to workflow participants, and is used to keep users up to date and notify them of new worklist items. In the K2 Designer for SharePoint, the Custom User Task can be configured by dragging the Custom User Task icon onto the relevant step on the design canvas. The Custom User Task is used to create a task for a user which is not specifically linked to a form in K2 Designer for SharePoint. A URL can be specified where the task will be opened and a serial number or parameters can be added to the URL for identification purposes. The Custom User Task can be found by opening the User Tasks in the Workflow Steps tab.
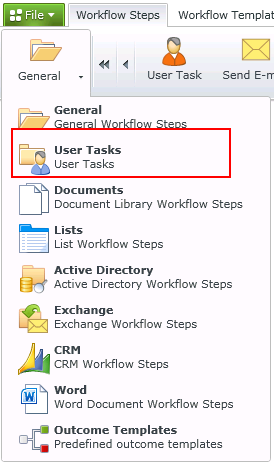
User Tasks
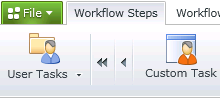
Custom Task

User Task
| Feature | What it is | How to use it |
|---|---|---|
|
Name |
User defined name for the Custom User Task |
Type a name for the Custom User Task |
|
Instruction |
An instruction for the user if required |
Type a brief instruction for the user if required |
|
Action |
Enter as many actions as are required, 1 Action per line Note: If the Action Approve Decline is on the same line, this will be interpreted as a single action and not as two separate Actions |
Type text |
|
Allow user to action the task without opening the form |
When enabled, this option will allow a user task to be actioned without the need for a user form for example Batch Actions. |
Disable the option if not required |
|
Automatically generate Outcome(s) for the above Actions(s) |
Outcomes are generated automatically based on the number of listed Actions. This option is enabled by default, and if disabled the workflow designer will be required to con figure the Outcomes manually |
Disable the option if not required |
The Workflow Step Outcomes screen is where the outcomes are configured. If the Automatically generate Outcome(s) for the above Actions(s) option was selected in the previous step, these will be listed here. Additional outcomes may be configured if required typing the name of the Outcome or dragging the required Outcome Template from the Outcome Templates section on the right into the blank space.
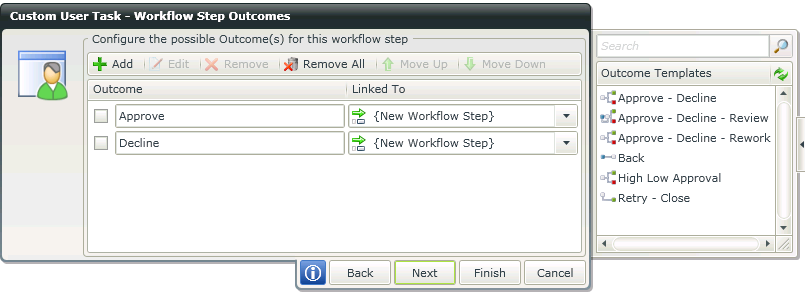
Workflow Step Outcomes
| Feature | What it is | How to use it |
|---|---|---|
|
Add |
Adds another Outcome |
Click Add |
|
Edit |
Edits and existing Outcome |
Select an Outcome and click Edit |
|
Remove |
Removes an Outcome |
Select an Outcome and click Remove |
|
Remove All |
Removes all Outcomes |
Click Remove All |
|
Move Up |
Moves the Outcome one position up |
Select an Outcome and click Move Up |
|
Move Down |
Moves the Outcome one position up |
Select an Outcome and click Move Down |
|
Outcome |
Lists the Outcomes configured |
Select an Outcome if an action should be performed |
|
Linked To |
The workflow steps available to be linked to the Outcome |
Select a workflow step that should be linked to the Outcome |
The User Form step is where the Task Item URL is configured. When opening the workflow item, this URL will be opened. A serial number can be added for identification purposes or querystring parameters can be added to make the item unique.
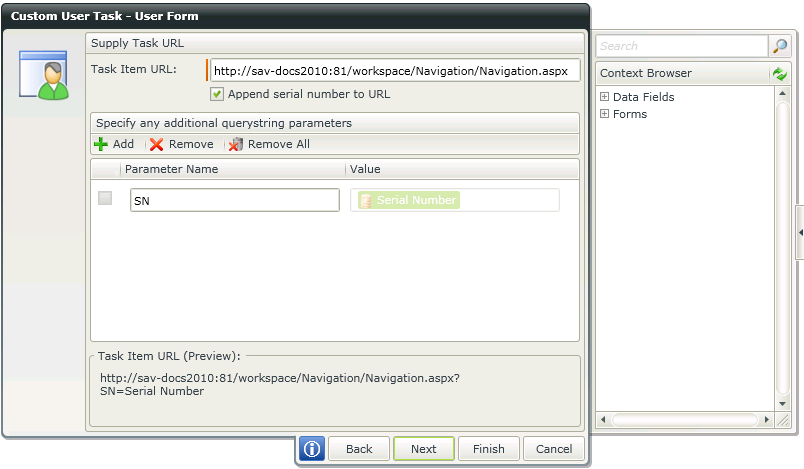
Task URL
| Feature | What it is | How to use it |
|---|---|---|
|
Task Item URL |
Provides the relevant web page URL to be used in the workflow |
Type the URL or drag and drop a value from the Context Browser |
|
Append serial number to URL |
The serial number of the activity instance is added to the URL by default. The serial number is necessary to open the specific worklist item |
The serial number will NOT automatically be appended to the URL. Select the check box if the serial number must be appended. Where a situation requires batch actioning within SharePoint it is possible to receive an error when the serial number is appended to the URL. In these cases it is suggested to not select this option. |
|
Add |
Adds a line where another parameter can be added. When adding more than one parameter, the parameters will be concatenated in a query string |
Type the parameter name and drag and drop or type a value |
|
Remove |
Removes a specific parameter from the query string |
Select a parameter and click Remove |
|
Remove All |
Removes all the parameters from the query string |
Click Remove All |
Participants can be added to receive this user task. Search for the participants on the right then drag them below the Task Group on the left.
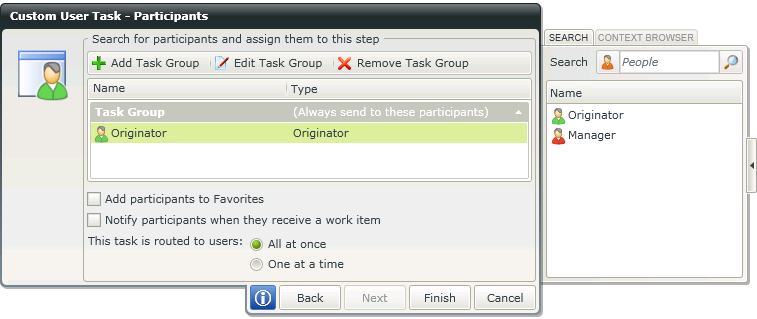
Participants
| Feature | What it is | How to use it |
|---|---|---|
|
Add Task Group |
Adds a Task Group to the Participants list. Participants can be grouped together to easily identify certain groups | Click Add Task Group |
|
Edit Task Group |
Edits and existing Task Group |
Select the Task Group and click Edit Task Group |
|
Remove Task Group |
Removes an entire Task Group. All Participants in the list of the Task Group will be removed |
Select the Task Group and click Remove Task Group |
|
Name |
The name of the Participant |
N/A |
|
Type |
The condition upon which the workflow step will be sent to the Task Group | Double click Always send to these participants to open the Edit Task Group Rule. A condition can be configured on which the Rule will be based |
|
Add Participants to Favorites |
Adds the list of participants to the Favorites feature. Favorites are reflected when opening the Participants screen |
Select the option |
|
Notify Participants when they receive a work item |
Enables a notification message that will be sent when a work item is received for the participant. The notification message can be configured on the next step of the wizard | Select the option |
|
Planning option |
Select the planning option to be executed when starting the workflow instance |
Select the required option |
When double clicking on Always send to these participants, the Edit Task Group Rule screen opens. A Rule can be configured that will determine when the workflow step will be sent to the specific Task Group. Drag and/or type values to build the condition on which the Rule will be based.
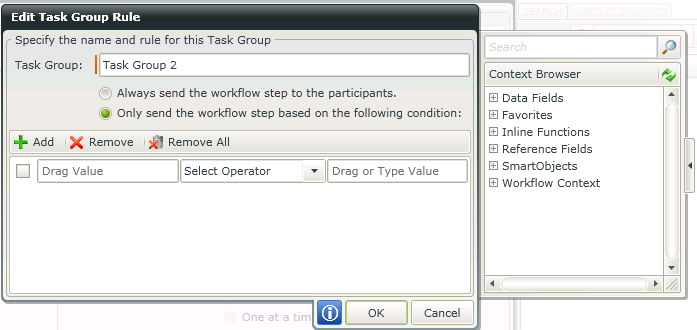
Task Group Rule
If the option Notify Participants when they receive a work item was selected in the previous step, the Event Notification Settings screen will open and a notification message can be customized on this screen. See the Event Notification Settings topic for more information.
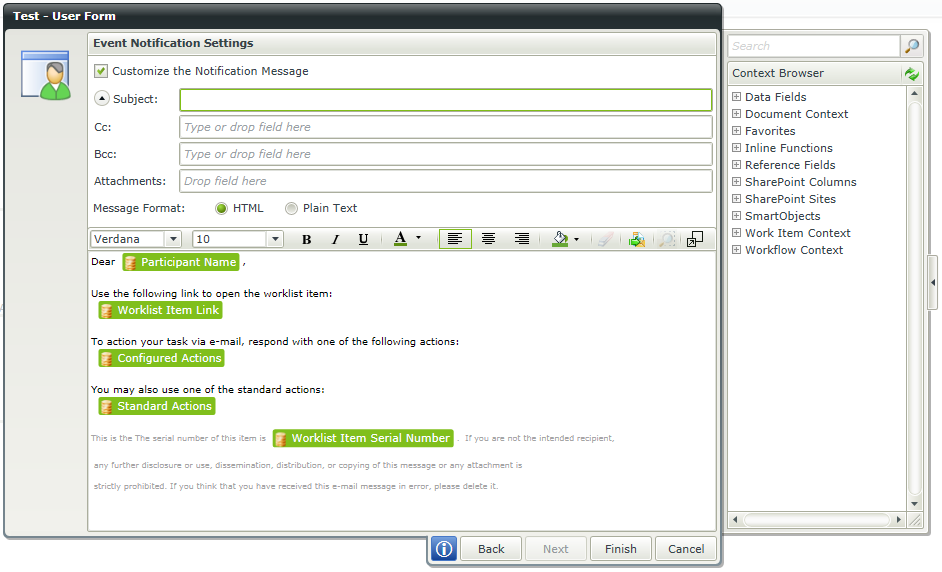
Event Notification Settings
For more information on the message body and toolbar, see the topic E-mail Event Wizard > Message Body.
* The Custom User Task wizard is only available in K2 blackpearl.
