Users and Groups - List Method
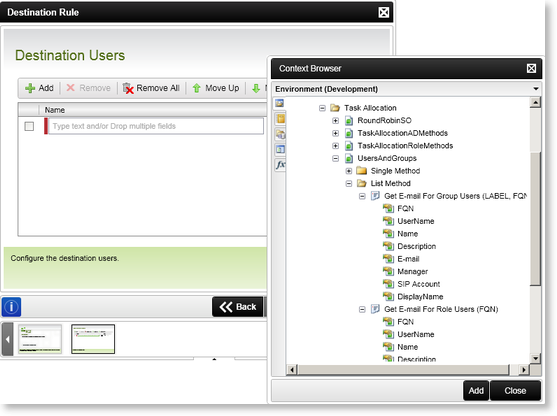
The Users and Groups SmartObject can be found by opening the Environment tab in the Context Browser on one of the fields as mentioned in Users and Groups SmartObject, then navigating to the Task Allocation category. There are 2 methods available for the List Method:
- Get E-mail For Group Users - A list of E-mail addresses is returned
- Get E-mail for Group - A list of E-mail addresses is returned
| Get E-mail for Group Users | What it is | How to use it |
|---|---|---|
| FQN | Fully Qualified Name property returned from the URM | Select the property and click Add |
| UserName | UserName property returned from the URM | Select the property and click Add |
| Name | Name property returned from the URM | Select the property and click Add |
| Description | Description property returned from the URM | Select the property and click Add |
| A list of E-mail addresses is returned from the Users and Groups SmartObject | Select the property and click Add | |
| Manager | Manager property returned from the URM | Select the property and click Add |
| SIP Account | SIP Account property returned from the URM | Select the property and click Add |
| DisplayName | DisplayName property returned from the URM | Select the property and click Add |
| Get E-mail for Role Users | What it is | How to use it |
|---|---|---|
| FQN | Fully Qualified Name property returned from the URM | Select the property and click Add |
| UserName | UserName property returned from the URM | Select the property and click Add |
| Name | Name property returned from the URM | Select the property and click Add |
| Description | Description property returned from the URM | Select the property and click Add |
| A list of E-mail addresses is returned from the Users and Groups SmartObject | Select the property and click Add | |
| Manager | Manager property returned from the URM | Select the property and click Add |
| SIP Account | SIP Account property returned from the URM | Select the property and click Add |
| DisplayName | DisplayName property returned from the URM | Select the property and click Add |
 |
The Properties returned depends on the User Relationship Manager used together with K2. The reason for surfacing the URM properties, is to support system wide usage. |
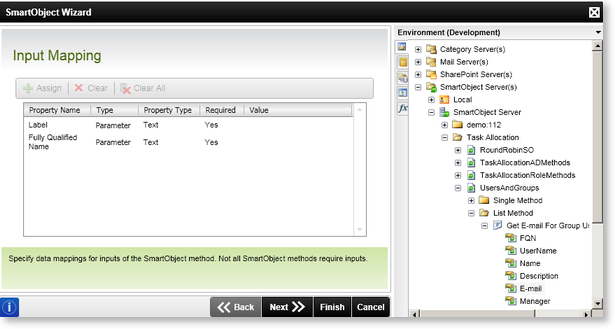
The Input Mapping screen opens when a property is selected. Supply details for the Input Mapping if required and click Next.
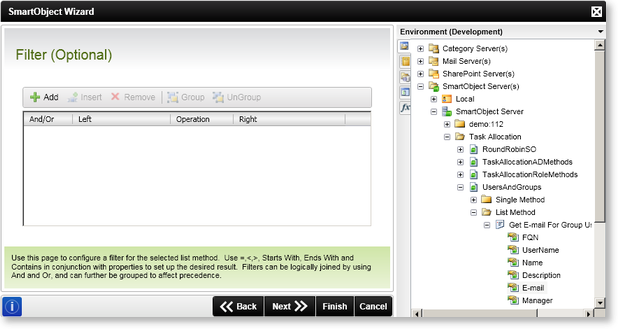
The Filter screen is displayed. This screen is optional. A filter can be applied to decrease the number of results returned. Click Next.
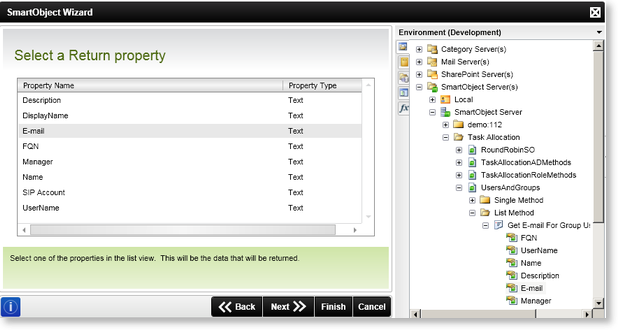
The Select a Return property screen is displayed. The E-mail property is auto-selected. Change the selection if required. Click Next.
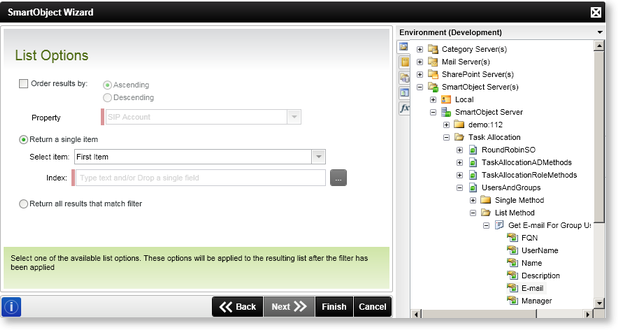
The List Options screen is displayed. Select the option most suitable and click Finish.
See Also
