User Settings - How to cache credentials
 |
The process described below does not create a user account; it captures user credentials that will be used to authenticate the logged on user when attempting to access a backend system. |
A secondary set of credentials may be cached per security label. See below for details.
 |
Identify and select the security label against which a set of credentials will be cached |
 |
Note: If no security label exists, consult the documentation for that component on how a security label is added. There is no manual procedure to add security labels as they are added as part of the configuration process or when the system directs that a security label is required. |
 |
Once the Security Label has been selected, click the Add Credentials button to proceed 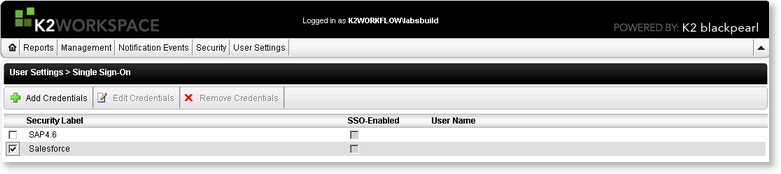
|
 |
Populate the Add Credentials dialog as shown below 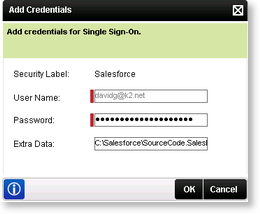
|
 |
Click OK |
 |
The system will now validate the existence of a user account for the set of credentials that have been provided. If the credentials are valid the following message will display: 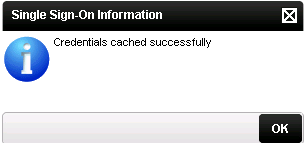
|
 |
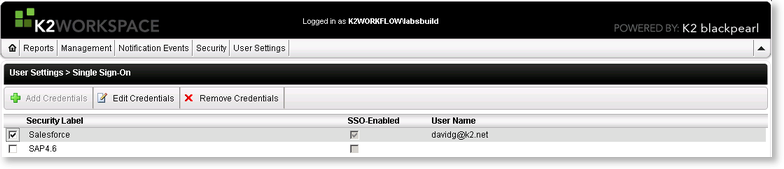
When the operation completes successfully, this does imply that at the time of caching the account credentials, the user account was active and enabled the user credentials to be authenticated. If in the future the user credentials fail authentication, trouble shooting may be required on the backend system and does by no means imply operational failure on the K2 system. |
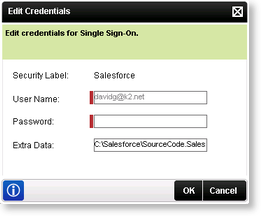
Edit Credentials
To edit credentials, simply select the Security Label and click Edit Credentials.
The Edit Credentials dialog will open. Edit the details and click OK to affect the change.
|
When selecting a label that has been cached, the User Name is disabled by default. In order to add a new user, the existing user should first be removed. |
