Internet Explorer Issues
This section covers common issues you may encounter with Internet Explorer, as well as recommended resolutions.
Issue:
When accessing K2 Workspace in a distributed environment, errors will occur if Internet Explorer settings are not configured correctly.
Resolution:
The following settings must be configured for all users who access the K2 Workspace remotely (and not on the K2 Workspace server). You can set these permissions via Group Policy. Be sure that you set these permissions for the accounts you are testing with, as using the "run as" command does not keep the Internet Explorer options of the previous account.
First, enable Windows Integrated Authentication:
- Open Internet Explorer
- From the Internet Explorer menu, select Tools > Internet Options.
- Click on the Advanced tab, and then scroll down to the Security section.
- Check the Enable Integrated Windows Authentication check box.
- Click OK.
- Close Internet Explorer.
Next, choose between adding the K2 Workspace URL to the Local Intranet Zone or adding the URL to Trusted Sites (allowing pass-through integration of the user's credentials). These options are described below. You can only select one of the options (Local Intranet Zone or Trusted Sites, but not both).
Local Intranet Zone
To add the K2 Workspace site to the Local Intranet Zone, perform the following steps:
- Open Internet Explorer.
- From the Internet Explorer menu, select Tools > Internet Options.
- Click on the Security tab, and then select the Local Intranet Zone .
- Click Sites.
- Click Advanced to open the list of sites in the Local Intranet Zone.
- Type in the K2 Workspace URL and click Add.
- After the site has been added, click Close and then OK twice to exit the Internet Options dialog.
Trusted Sites
To add the K2 Workspace site to the Trusted Sites, perform the following steps:
- Open Internet Explorer.
- From the Internet Explorer menu, select Tools > Internet Options.
- Click on the Security tab, and then select the Trusted Sites.
- Click Sites.
- Click Advanced to open the list of sites in the Local Intranet Zone.
- Type in the K2 Workspace URL and click Add.
- After the site has been added, click Close.
- Click on the Custom level... button on the Security tab.
- Scroll down to the User Authentication section, and select Automatic logon with current user name and password
- Click OK twice to exit the Internet Options dialog.
Issue:
If users cannot see the K2 features after installing and configuring K2 blackpearl, clear their internet cache. The below example is for clearing the cache in Internet Explorer:
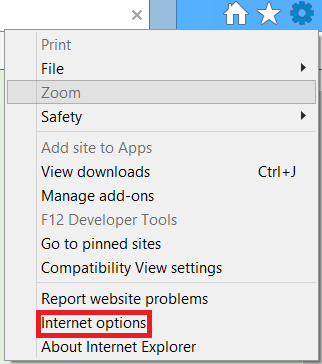
- Open Internet Explorer and select the down arrow next to Tools.
- Click on Internet Options
.
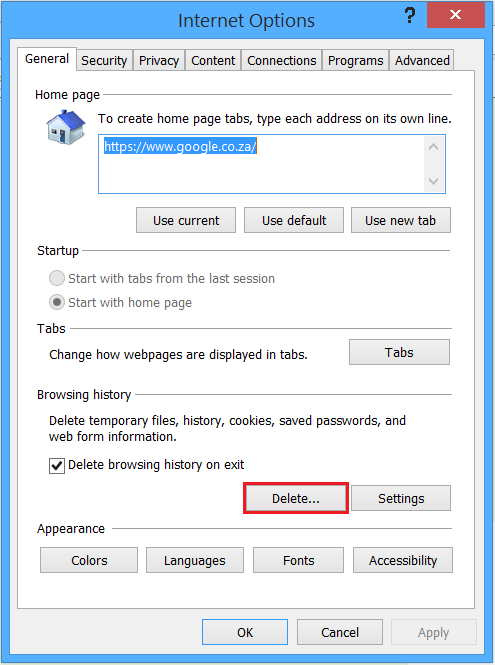
- Under the Browsing history section, click the Delete button.
- Select all the check boxes and click Delete.
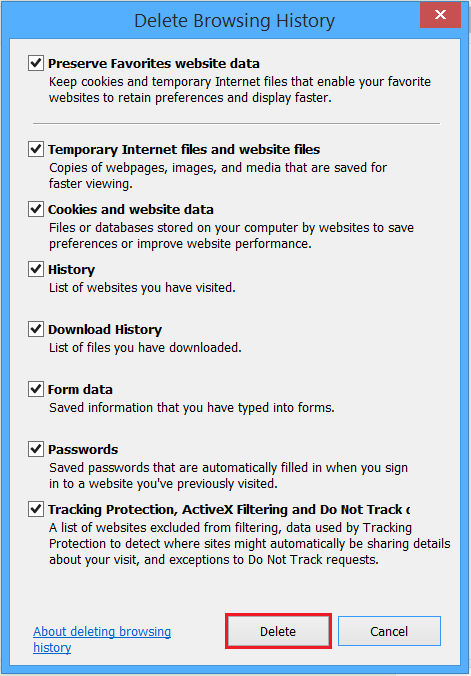
- When the cache has been deleted, close Internet Explorer.
- Reopen the browser and try accessing the K2 features again.
Issue:
Certain K2 blackpearl components, like the K2 Designer for SharePoint and the Notification Designer, require the Internet Explorer Enhanced Security Configuration (IE ESC) to be disabled. The IE ESC restricts rendering the interactive javascript used by the AJAX controls used to give users a Windows-like feel in the designers. This is a known issue and will be fixed in a future update.
Resolution:
- Open Add/Remove Programs by clicking Start > Control Panel > Add or Remove Programs.
- Click Add/Remove Windows Components.
- In the Windows Components dialog, scroll down until you see the Internet Explorer Enhanced Security Configuration component:
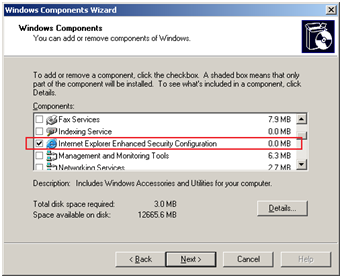
- Uncheck the checkbox next to the Internet Explorer Enhanced Security Configuration item.
- Click Next, and the wizard will configure the components.
- Once the configuration has been completed, click Finish. You can close the Add or Remove Programs window.