Configuring K2 Workspace
K2 Workspace includes a configuration file located in the K2 blackpearl root directory (<install drive>:\Program Files (x86)\K2 blackpearl\WorkSpace\Site\web.config). You must modify this to enable SQL user manager-based logins to K2 Workspace.
 |
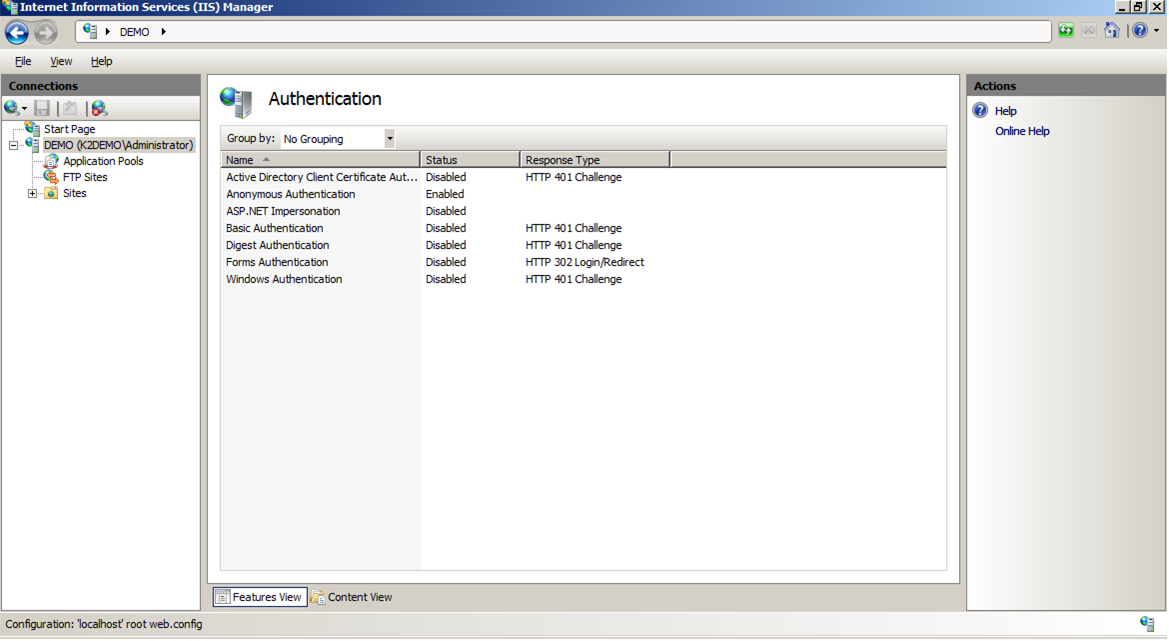
When running in single authentication mode (SQL or Custom) only, you will need to enable Anonymous and disable Integrated Windows Authentication access for the Workspace site. The site also needs to run under an ApplicationPool identity of Local System or Network Service. However, when running in mixed mode (Active Directory and any other user manager), only Integrated Windows Authentication should be enabled for the K2 Workspace site. In this scenario, the Workspace site should run under an Active Directory ApplicationPool Identity which has Administrative permissions within K2. |
 |
These instructions may vary dependant on the version of IIS |
- Locate the line below:
<add key="authenticationMode" value="Windows" />
change the value from “Windows” to “Forms” as shown below:<add key="authenticationMode" value="Forms" /> -
Locate the line below
<add key="DefaultSecurityLabel" value="K2" /> change the value from “Windows” to “K2SQL” as shown below:
<add key="DefaultSecurityLabel" value="K2SQL" /> -
Ensure that the following key is present:
<add key="ExtraAuthData" value="1" /> -
Locate the line below:
<membership defaultProvider="AspNetActiveDirectoryMembershipProvider" userIsOnlineTimeWindow="1600">
<!--<membership defaultProvider="MembershipProvider" userIsOnlineTimeWindow="1600">-->Change the lines to the following by commenting out the top line
<!--<membership defaultProvider="AspNetActiveDirectoryMembershipProvider" userIsOnlineTimeWindow="1600">-->
<membership defaultProvider="MembershipProvider" userIsOnlineTimeWindow="1600"> -
Locate the line below:
<authentication mode="Windows"> Change mode from “Windows” to “Forms”
<authentication mode="Forms"> -
Locate the line below and comment it out
<!--<add connectionStringName="ADConnectionString" connectionProtection="Secure" enablePasswordReset="false" enableSearchMethods="true" requiresQuestionAndAnswer="false" applicationName="/" description="Default AD connection" requiresUniqueEmail="false" clientSearchTimeout="30" serverSearchTimeout="30" attributeMapUsername="sAMAccountName" name="AspNetActiveDirectoryMembershipProvider" type="System.Web.Security.ActiveDirectoryMembershipProvider,System.Web, Version=2.0.0.0, Culture=neutral, PublicKeyToken=b03f5f7f11d50a3a" />--> -
Save and close the web.config file.
-
Perform an IIS reset
Verify Changes
|
A default user is added on install when the SQL user manager is used (Username: k2, Password: k2). |
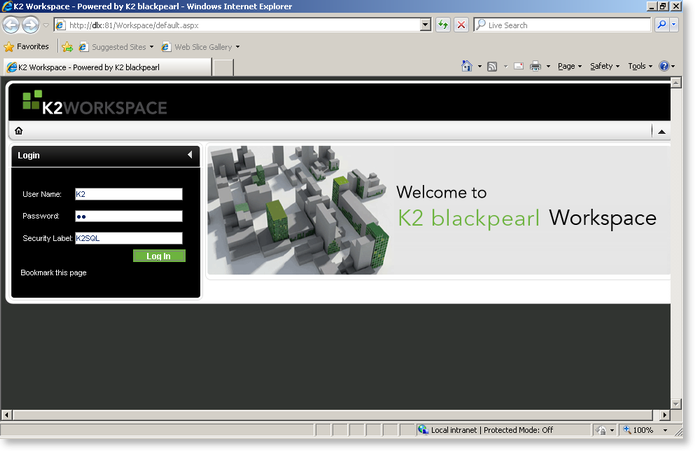
- Open a browser and navigate to K2 Workspace where a login page will be displayed.
- Enter the username, password and the Security Label.
|
The name and password provided must match that entered into the dbo.K2Users table. |