DocuSign Feature Activation
K2 can integrate with DocuSign through SmartObjects and workflow wizards. To enable integration between K2 and DocuSign, the DocuSign Feature must be activated by registering an Instance of the feature with the DocuSign page. Once complete, SmartObjects are created for the DocuSign Service Instance, and workflow wizards are activated within the web-based K2 workflow design tools. The underlying Service Type integrates with the DocuSign service, enabling you to design K2 workflows that manage document signing steps or build SmartForms that utilize the SmartObjects to interact with DocuSign.
Theoretical and functional knowledge of DocuSign is required to use the DocuSign integration provided by K2. You may learn more about DocuSign from the DocuSign website at https://www.docusign.com/. The documentation below assumes you are familiar with DocuSign as well as .
Prerequisites
The following prerequisites apply for K2-DocuSign integration
- DocuSign Enterprise Version. K2 integration requires the DocuSign API and a DocuSign Integrator Key. (When moving from development to production, K2 required all customers to obtain and register their integrator Key as part of the DocuSign broker service instance configuration. Previously this certification process was not necessary as K2 provided the option to use a K2 integrator Key. Docusign no longer supports the K2 integrator key and customers need to create their own key. This change has been applied in K2 blackpearl (4.7) April 2022 Cumulative Update Fix Pack 3 together with the OAuth option.
- If you are using a different version of DocuSign, please contact DocuSign to determine whether you can use the API and obtain an Integrator Key in your version of DocuSign.)
- DocuSign Developer Account. This account must be created prior to integrating K2 with DocuSign, and the Developer Account must be obtained from DocuSign – it is not provided by K2. See the following link for more information on obtaining a developer account: https://www.docusign.com/developer-center
-
The following information will be required for using K2-Docusign integration
- Account ID
- API Account ID
- Account base URL
- Authorization base URL
- Client ID
- Integration Key
- RSA Private Key
- REST API URL
- Scope
- User ID
See Docusign Apps and Keys for more information.
Required Permissions
DocuSign integration with K2 requires the following permissions:
- Allow sequential signing
- Allow view and manage envelope rights through API
- Allow send on behalf of other users through API
You can assign these permissions to existing permission profiles in DocuSign, or create a new permission profile in DocuSign, and assign the new permission profile to the relevant users who need to use DocuSign integration through K2.
Follow the steps below to create a permission profile and set permissions.
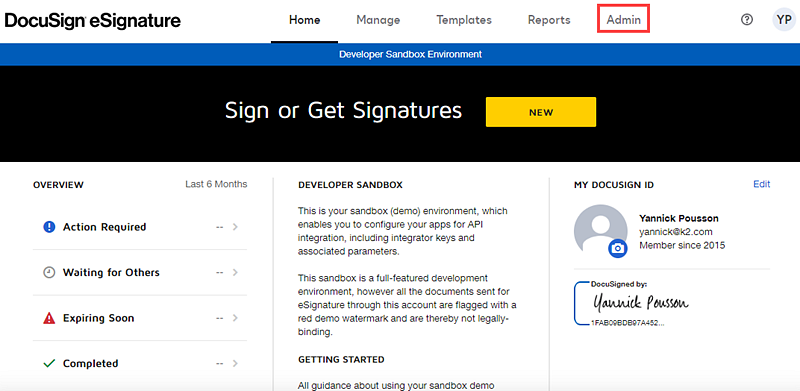
- Log in to your DocuSign Developer Sandbox.
- Select the Admin tab.
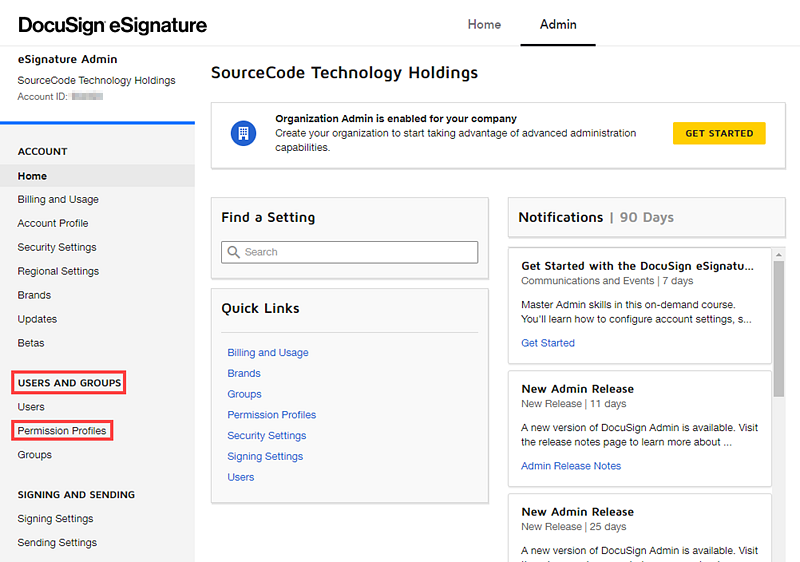
- On the Admin page, click Permission Profiles in the Users and Groups section.
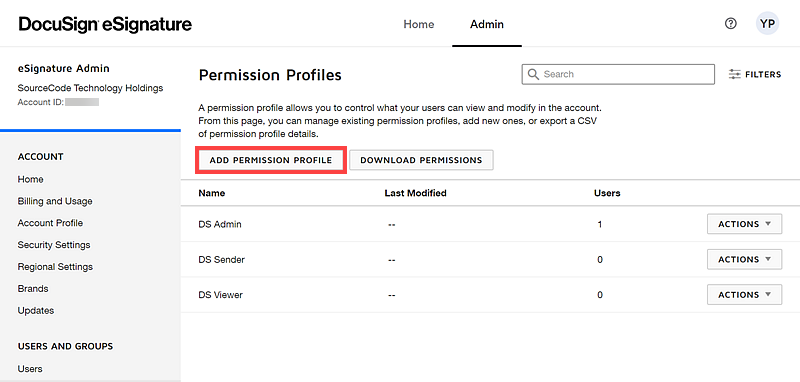
- On the Permission Profiles page, click Add Permission Profile.
- On the Add Permission Profile page, provide a Name for your permission profile, select Allow view and manage envelope rights through API and Allow send on behalf of other users through API. Click Add.

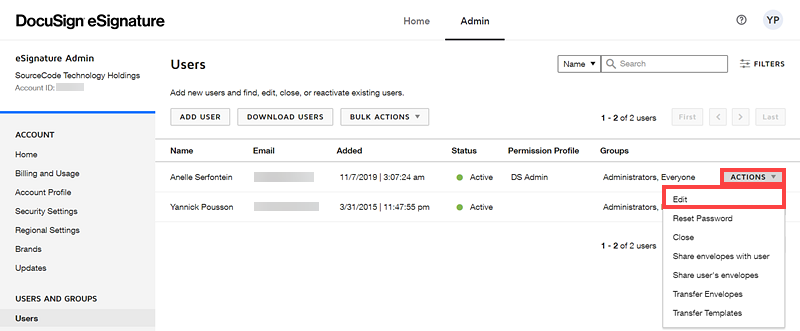
- To add users to the permission profile, click Users under the Users and Groups section.

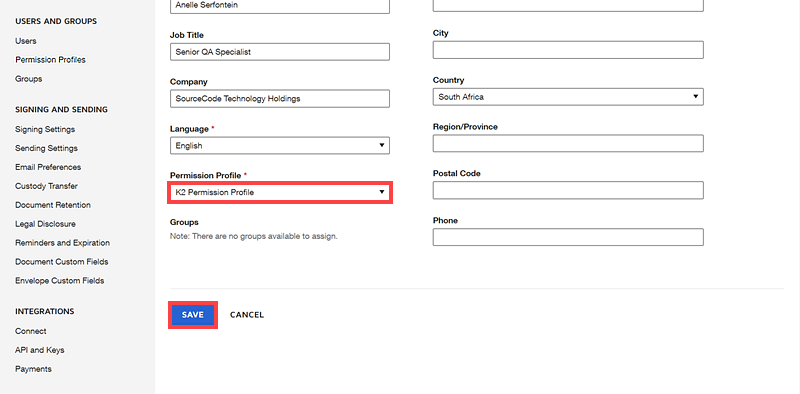
- On the Users page, select the user for the permission profile, click Actions and then Edit.
- On the User Profile page, select your permission profile from the Permissions Profile drop-down. Click Save.
Registering an instance of the DocuSign feature
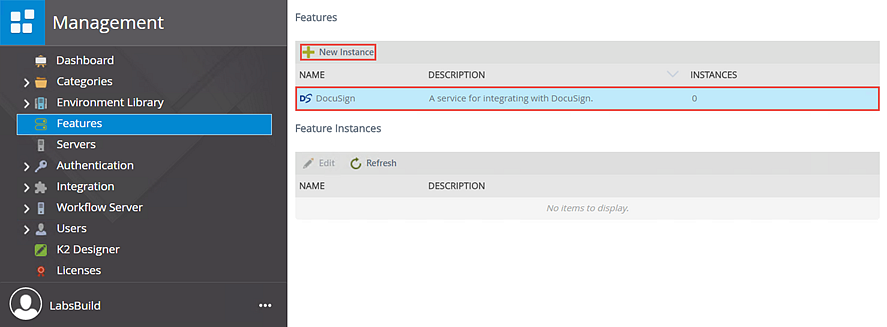
- On the K2 Management site, select the Features node.
- Once the Feature page has opened, click on DocuSign and click New Instance.
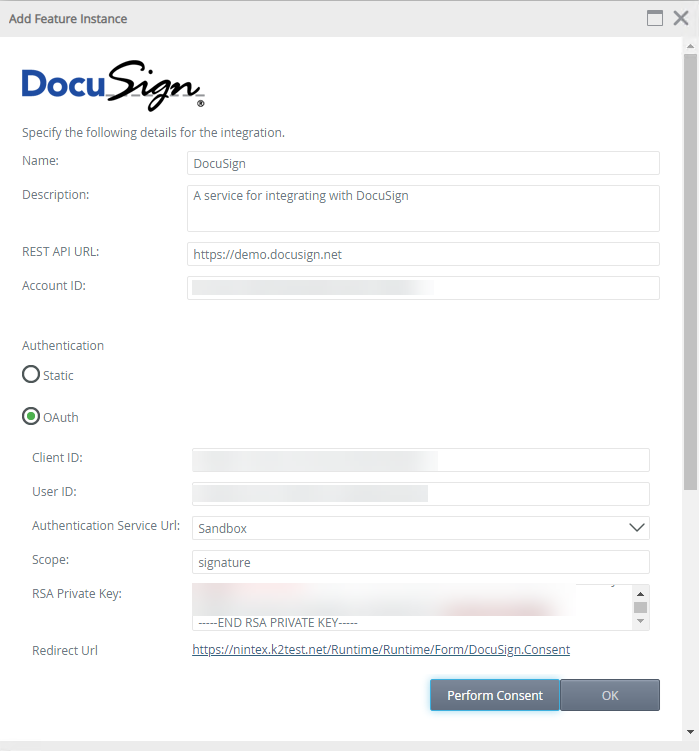
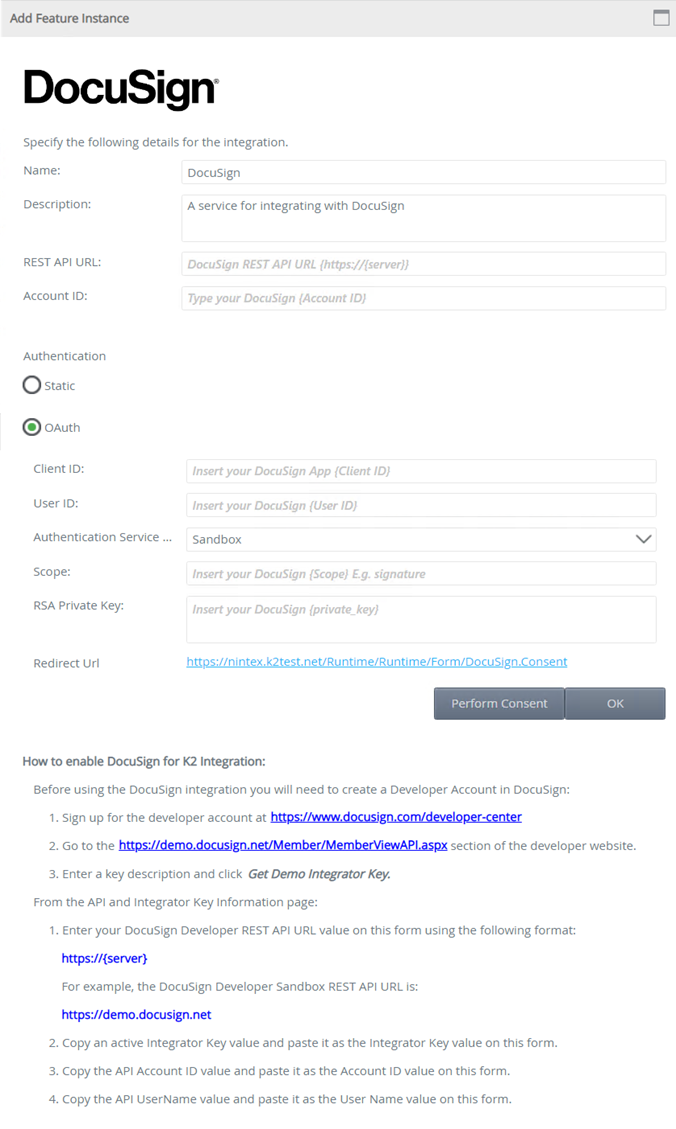
- The Add Feature Instance page opens. Follow the How to enable DocuSign for K2 Integration steps that appear on the window. Once all the values have been entered click OK.
- If you are using a DocuSign Demo Account use the following URL as your REST API URL: https://demo.docusign.net
- The URL in Step 2 of the How to enable DocuSign for K2 Integration steps has changed. Use the https://admindemo.docusign.com/api-integrator-key to obtain your Demo Integrator Key.
-
You will need to provide your own DocuSign Integrator Key that is valid for your DocuSign tenancies. You will need to provide the following from your DocuSign account:
- REST API URL
- Account ID
- Client ID
- User ID
- Scope
- RSA Private Key
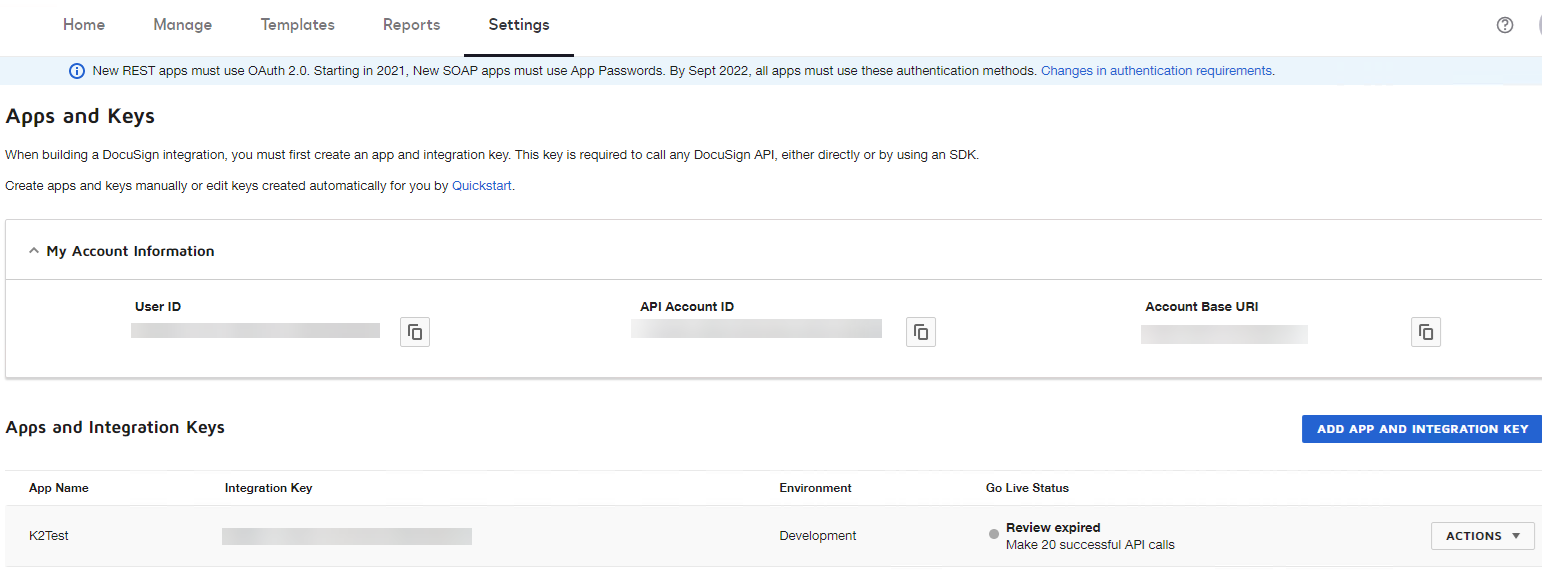
- To setup OAuth you need to have an application with keys setup under DocuSign’s “Apps and Keys” settings page. Once setup it will look similar to the image below.
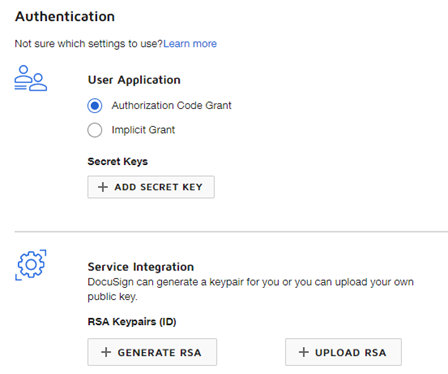
- In the Authentication section, Authorization Code Grant must be always be selected as K2 will use JWT Grant flow with a RSA private key. Inside the apps settings a private key must be generated, only the private key should be populated inside K2, not the public key. Take care to copy the entire private key for example -----BEGIN RSA PRIVATE KEY-----xxxxxxxx----- to finish -----END.
- These details will be used to populate the K2 DocuSign Feature OAuth settings.
-
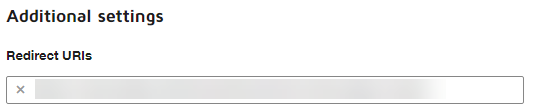
The Redirect URL provided on the K2 DocuSign feature must be added to the apps Redirect URLs.
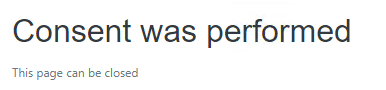
- Before the Integration Key\Client ID can be used to retrieve and OAuth token, consent needs to be performed with the user that created the app by clicking on the “Perform Consent” button on the Feature window. If consent was performed without error you will see this page.
- K2 will then configure feature instance by creating a Service Instance, SmartObjects and enabling the DocuSign workflow wizards.

- Click Done to complete the feature instance activation.
Static Authentication
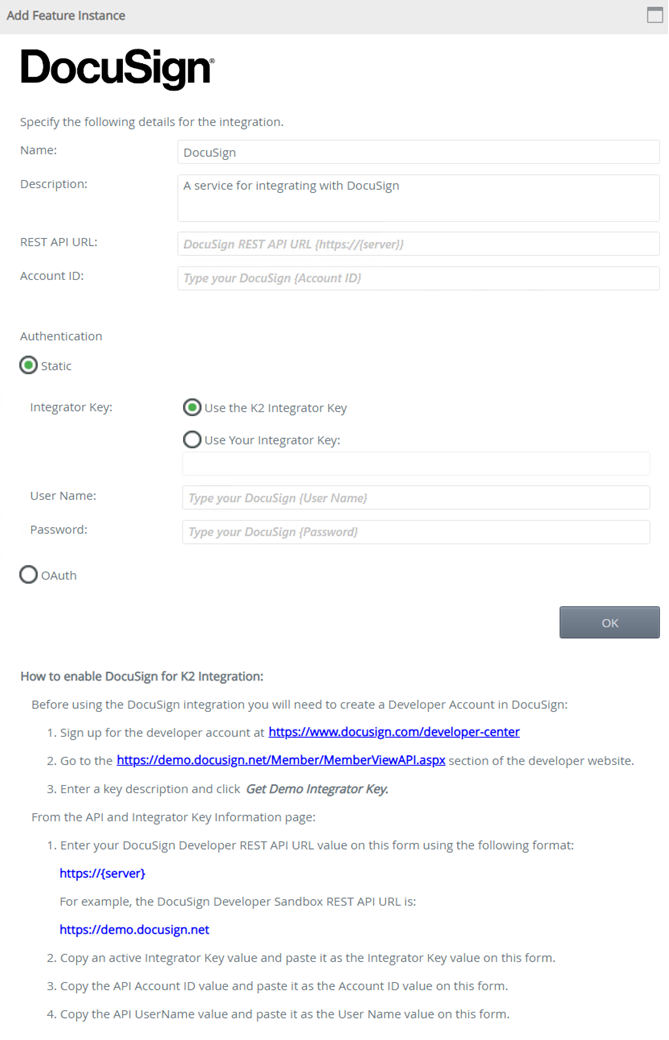
Select the Use the K2 Integrator Key option, however if you are using a non DocuSign production instance, you will need to provide your own DocuSign Integrator Key that is valid for your DocuSign tenancies. Regardless of the Integrator Key option selected, you will need to provide the REST API URL, Account ID, User Name and Password for your DocuSign Account. After October 4th 2022 , all non OAuth 2.0 authentication flows will be fully deprecated, it is recommended for users to use OAuth.
OAuth
if not, you’ll most likely see an error page from DocuSign example:

Important Considerations
- If the DocuSign Service Instance is registered using the K2 Integrator Key option, DocuSign does not require certification. If you use your own Integrator Key provided by DocuSign when enabling the feature, certification is required. Certification allows for the Sandbox Integrator Key to be used against DocuSign’s Production Service Address. See the DocuSign article which explains this in more detail: https://www.docusign.com/developer-center/go-live/certification
- It is highly recommended to use the DocuSign Feature Activation page to register the necessary Service Instances and other resources to enable K2-DocuSign integration. If the Service Instance is registered using tooling other than the Features page, the DocuSign wizard category will not be added in the relevant workflow design tools.
- If building embedded signing solutions using the DocuSign View Service Object, the Client User_ID must be specified (Recipient -> Input -> Client User ID). Embedded signing is an advanced DocuSign function and is not part of the K2 DocuSign Wizards, and must be built using custom SmartObjects and K2 smartforms. See the DocuSign Post Recipient, Post Sender, and Post Edit Help Topics for more.
- When registering multiple DocuSign Feature Instances with different user credentials, DocuSign Templates will not be available across all service instances (in other words, Service Instance A will be unable to see Service Instances B's templates). To rectify this, Template Sharing is required. To enable Template Sharing in DocuSign, log in to the DocuSign site, click on the Manage tab > My Templates > Actions > Share. In the Template Sharing window, select the appropriate User(s)/Group(s) you want to share templates with, and then click Save
- The input property added for the load method of the Document SMO is the Escape Non ASCII Filenames which is a Boolean value that can be set to either true or false to ensure file names get encoded correctly. When you set the Escape Non ASCII Filenames to true then non ASCII characters like भारत or Č will be encoded to their respective URL encoded values. When you set the Escape Non ASCII Filenames to false then non ASCII characters like भारत or Č will not be encoded and left as is. If no value is specified for the Escape Non ASCII Filenames parameter its default value is going to be false. This is implemented to ensure systems like SharePoint will be able to upload these files with the non ASCII file name characters without error.
- After October 4th 2022 , all non OAuth 2.0 authentication flows will be fully deprecated. See OAuth Migration for more information.
- Known issues:
- When editing an existing OAuth/Static DocuSign Feature Instance via K2 Management and entering an incorrect UserID, the instance will be updated but will present an error when an execution is attempted to DocuSign which requires the UserID. Error message states:
Error: SmartObject Server Exception: {"error":"invalid_request"}.
When attempting to create a new OAuth DocuSign Feature Instance using an incorrect UserID the same error will be presented on the DocuSign Service Broker configuration Step. When you create a new OAuth DocuSign Feature Instance and the OAuth section details (ClientID, UserID, Authentication Service Url, Scope, RSA Private key) are all correct but REST API URL or the AccountID is incorrect, clicking OK will take you to the Feature Instance configuration screen and fail with a validation message stating that the REST API URL or the AccountID are incorrect. When you correct the REST API URL or the AccountID value but you add the incorrect values for OAuth section and click OK, the Feature Instance configuration will succeed as the token for your OAuth DocuSign Feature Instance has already been created. Only when the token expires or is deleted will the validation for OAuth section activate again. When you edit an existing OAuth DocuSign Feature Instance where the token has not expired yet, you will also be able to add the incorrect values into the OAuth section and validation will not appear.
- When editing an existing OAuth/Static DocuSign Feature Instance via K2 Management and entering an incorrect UserID, the instance will be updated but will present an error when an execution is attempted to DocuSign which requires the UserID. Error message states:
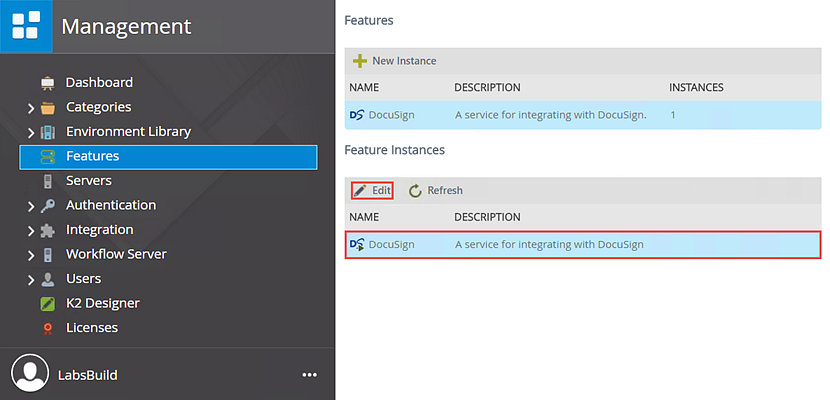
Feature Instances
The Feature Instances section displays all active instances that have been created in the Features node, for the Feature selected in the Features list. The Features Instances section allows a administrator to view and edit existing Feature Instances.
To edit a Feature Instance follow the steps below:
- Select the required feature instance and click Edit.
- The Edit Feature Instance page opens. Edit and update the required values as needed.
- The Instance Updated dialog opens, click OK then Close.