Setting Out of Office in Process Portal
K2 Process Portal Out of Office enables you to share specific worklist items, or all of your worklist items, with other users. You can share work items with designated colleagues, or create exception rules for specific work items to be shared with specific users. This ensures that important or urgent work items receive prompt attention regardless of someone being out of the office.
Benefits of using Out of Office:
- Allows the sharing of worklists between users according to rules and conditions determined by the out of office user.
- Managers and administrators can share user worklists, depending on availability and workload.
- The out of office user can still access and process the worklist items shared with colleagues.
- Out of Office can be configured within the K2 Worklist in the Process Portal.
When configuring K2 Process Portal Out of Office, you must assign destination users who will receive the shared worklist items. The destination users can be set by the out of office user, administrator or manager. A user's availability can be determined by the Out of Office icon displayed next to the user's name in the K2 Worklist.
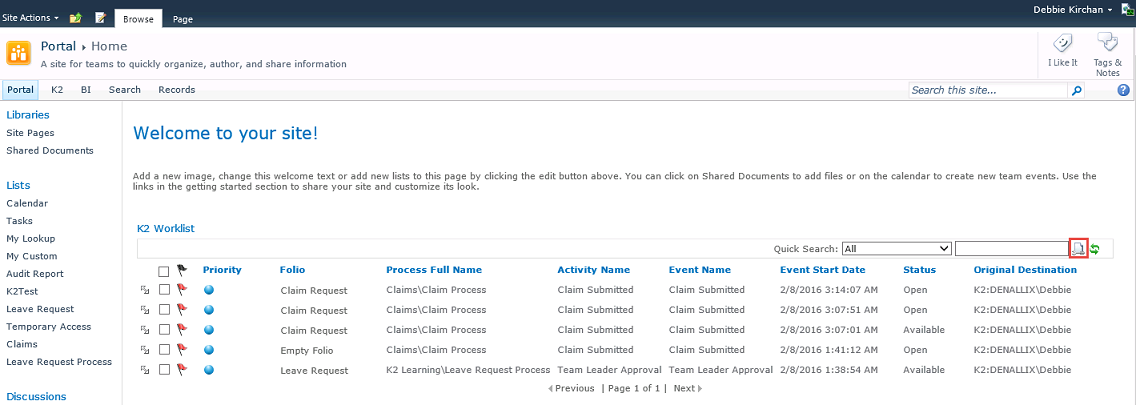
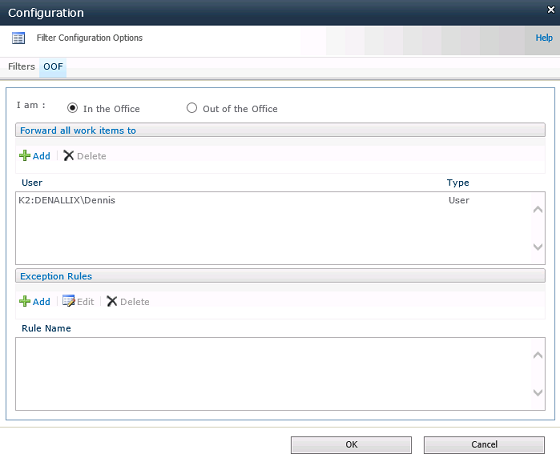
- From the K2 Worklist in Process Portal, locate the Configuration icon.
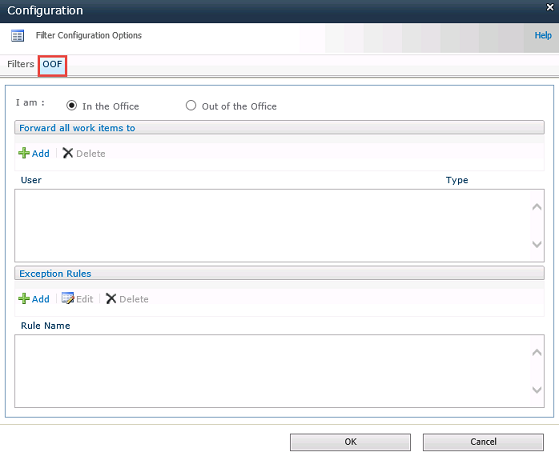
- Click the OOF tab.
- Under the Forward all work items to section click Add.
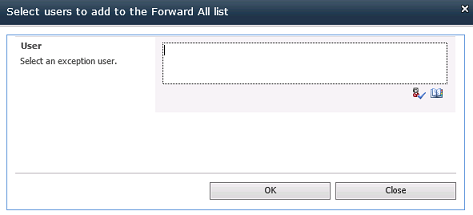
- Type the user name into the User field and click the user find icon.
- Click OK to add user to the Forward all work items to list.
- Under the Exception Rules section click Add.
- Click OK to add rule to the Exception Rules.
- After adding designated users and / or required exception rules click OK to activate the Out of Office settings. Notice the Out of Office icon that appears on the your worklist.
- The icon of a user who is out of office, is colored red.
- The icon of a user who is in the office, is colored green
The table below explains the available fields:
| Feature | Description | Sample Value |
|---|---|---|
| In the Office | When this radio button is selected, K2 sees you as in the office. You are able to configure the out of office settings, but they will not be applied until the Out of the Office option is active. | Select the In the Office radio button. |
| Out of the Office | When this radio button is selected, you are regarded as out of the office and K2 worklist item sharing will start, using the settings that have been created in the Out of Office Configuration tab. | Select the Out of the Office radio button and specify Forward all work items to and / or Exception Rules. |
| Forward all work items to | This list displays users that can view and process the work items on behalf of the out of office user during their absence. Add and delete destination users (forwarded users) to and from this list. By adding a user to this list, all K2 Worklist items will be shared with the listed destination user. |
Click the Add button to search for and allocate users to the Forward All list. Click the Delete button to remove added users. Completion of this section is mandatory to enable sharing of the worklist items. |
| Exception Rules | The Exception Rules enable the user to create exception rules on forwarded work items. These rules are applied when the out of office user wishes to direct tasks of a particular event to specific destination user. While the user is out of office, any items meeting the exception rule will be forwarded to those users specified in the exception rule only, while other tasks will be forwarded to the user listed in the main out of office (Forward all work items to) configuration. | Click the Add button to search for and allocate specific users the Exception Rule applies to. Click the Edit button to edit existing Exception Rules. Click the Delete button to remove added users. |
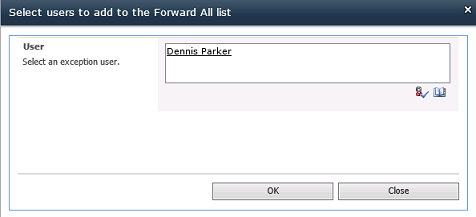
Example of completed Select users to add to the Forward All list screen.
The table below explains the available fields:
| Feature | Description | Sample Value |
|---|---|---|
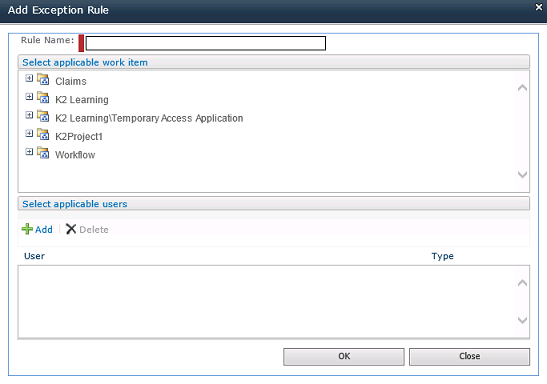
| Rule Name |
Enter a descriptive name for the Exception Rule. When the rule is saved, this name will be used to identify the rule in the list. This is a required field. |
Enter Exception Rule name into the Rule Name field. This action is mandatory. |
| Select applicable work item | This section displays all filters that can be applied. The user will be able to drill down to activity level. | Browse and select work item to apply the exception rule to. |
| Select applicable users | The list will display the destination users this rule will apply to. |
Click the Add button to search for and allocate specific users to the Exception Rule. Click the Edit button to edit existing Exception Rules. Click the Delete button to remove added users. |
Example of completed Select users to add to the Forward All list screen.
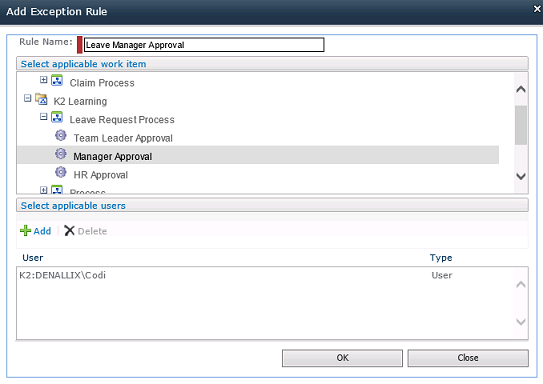

In the Exception Rules section, more than one exception rule can be added. Multiple users can receive a specific process instance that is specified in the Exceptions Rules section.

To interpret the out of office statuses the following applies:
Scenario: You want to redirect any Expense Claim Approval tasks to the Finance VP, but any other tasks should be directed to their peers.
Setup: Configure an Out of Office rule to share all tasks with your work colleague, but also add an exception rule to share any Expense Claim Approval tasks with the Finance VP.
Outcome: While your status is 'Out of Office', any Expense Claim Approval tasks would be directed to the Finance VP and all other tasks will be directed to your work colleague.
- To interpret the Out of Office statuses, the icon of a user who is out of office, is colored red and the icon of a user who is in the office, is colored green.
- Existing and new worklist items are shared with a designated alternative as specified by the configured Out of Office settings.
- While a user is out of office, any items meeting the Exception Rule criteria will be forwarded to those users specified in the rule only, while all other tasks will be forwarded to the users listed in the main Out of Office configuration.
- The column called Original Destination on the worklist will allow you to differentiate between your own, and the out of office user's worklist items.
- The K2 Out of Office service can be configured either from within K2 Workspace, SharePoint 2010, SharePoint 2010 Central Administration, or from K2 Process Portal.