K2 Studio - Deploying a SmartObject
A SmartObject must be deployed to the K2 SmartBox. At deployment the SmartObjects are checked for errors and placed in a deployment task. The Deployment tasks deploys SmartObjects one by one followed by the associations on the SmartObjects one by one. If any SmartObject or association deployment fails, the task will be stopped.
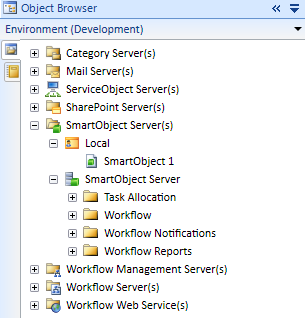
Before deployment of a SmartObject the SmartObject is accessible in the Local Folder of the Environment tab in the K2 Object Browser as shown below. After deployment the SmartObjects are accessible on the root of the SmartObject Server node and in the Local folder.

Fig. 1. SmartObject in the Local Folder
Deploy a SmartObject
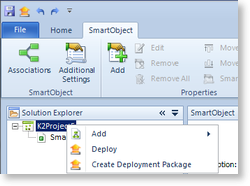
To deploy the SmartObject click on the Deploy icon![]() in the toolbar options or right - click on the project name in the Solution Explorer and select Deploy.
in the toolbar options or right - click on the project name in the Solution Explorer and select Deploy.

Fig. 2. SmartObject Deploy Options
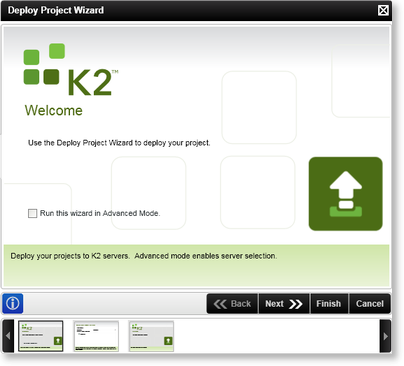
The Deploy Project Wizard will open and guide the user through the deployment configuration.

Fig. 3. Deploy Project Wizard
