K2 Designer for SharePoint - Escalations
 |
When Workflows are instantiated after the escalation date has expired, the Workflow will escalate immediately before any tasks in the Workflow can be actioned. No escalations are applied by default. |
The advantage of an automated business Workflow is that once a step begins, the progress and the time taken for the Step to complete can be monitored. Since the starting point or existence of the step is known as a Rule, the Escalation rule is used to allocate time for the step to be completed. If the step is not actioned within that time, the step can be escalated. In the context of the step, the escalation rule serves to ensure that a step is always actioned.
The Escalation is itself an action; automated by the rule that raises a developer definable alert that the step has not been actioned in the allocated time. The Escalation rule for the step therefore determines the action taken when the step is not completed within the specified time.
Workflow Escalations are created by selecting the Escalations icon located on the step properties menu.

Fig. 1. Escalations icon
More than one escalation can be added and will be listed on the following screen:
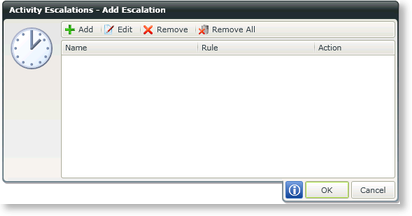
Fig. 2. Escalation Rule
| Feature | What it is | How to use it |
|---|---|---|
| Add | Opens the Add Escalation screen for capturing | Click Add |
| Edit | Opens the Add Escalation screen for editing | Select and escalation and click Edit |
| Remove | Removes the selected escalation | Select an escalation and click Remove |
| Remove All | Removes all the escalations | Click Remove All |
To add an escalation, click on Add. The escalation wizard will open. Provide a name and description for the escalation and select the type of escalation.
The following escalations are available:
- Redirect
- Expire
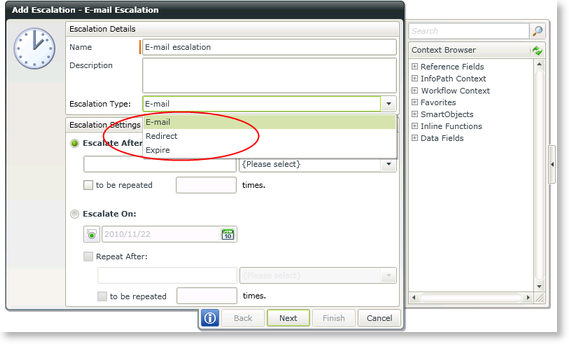
Fig. 3. Escalation Types
| Feature | What it is | How to use it |
|---|---|---|
| Sends an e-mail | Select this option to send an e-mail | |
| Redirect | Redirects the activity | Select this option to redirect the activity |
| Expire | Expires the activity | Select this option to expire the activity |
The following methods are available for escalation:
- Escalate After
- Escalate On
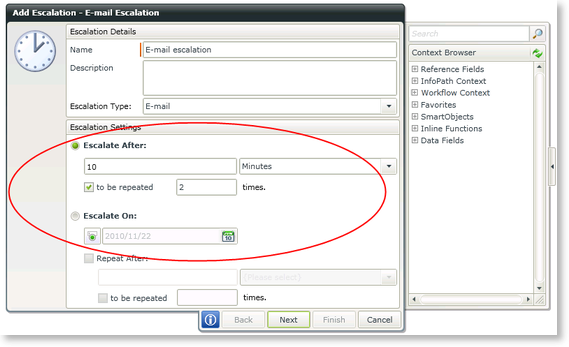
Fig. 4. Escalation Settings
| Feature | What it is | How to use it |
|---|---|---|
| Escalate After |
The Escalate After option is time based and once the time allocated in days, minutes, hours and seconds expires, the Escalation Rule will trigger. The time allocated to the escalation can also be configured to escalate more than once. This is done by enabling the to be repeated option and entering the number of times that the escalation rule will repeat. |
Select this option if the escalation is time based |
| Escalate On |
The Escalate On option, enables the developer to configure a Day based on a date for the escalation to take place. The Escalate On option serves best for a Workflow that is a promotion or where there is a final date for the submission of an application of some kind. The Escalate On option therefore sets a date (specific day bound by day/month/year) |
Select this option to specify a specific Day |
E-mail Selected
If E-mail was selected, click Next on the Add Escalation screen and insert the details required in the notification e-mail. Configure the e-mail that will be sent to the designated recipient to inform them that a Workflow instance has not been actioned and this is after the time allocated to the Workflow has expired.
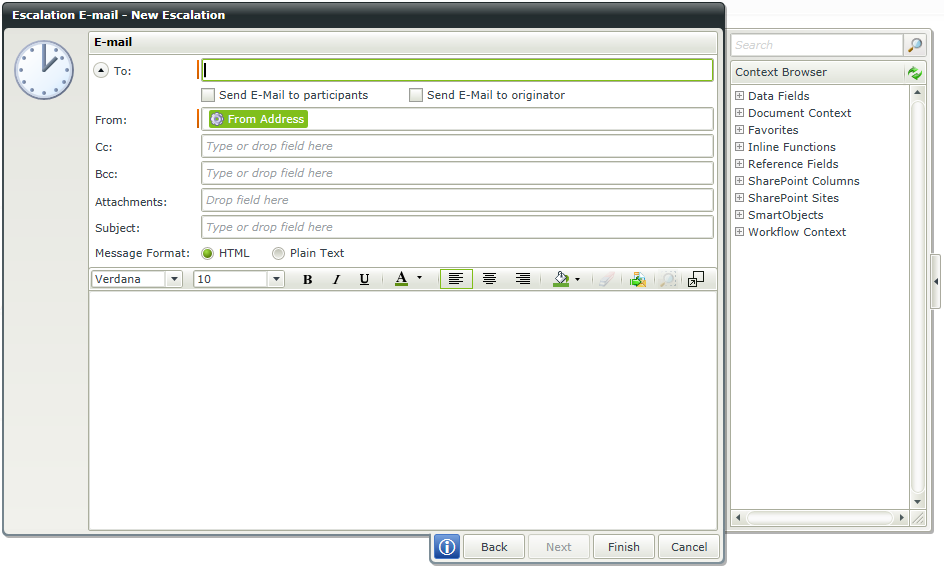
Fig. 5. E-mail escalation with twisty expanded

E-mail escalation with twisty contracted
| Feature | What it is | How to use it |
|---|---|---|
| To | The address to which the e-mail is to be sent - whether specified directly or resolved from the Workflow originator or step participant | Type text or drag and drop a field from the Context Browser |
| From | The e-mail address to appear in the From field - usually the e-mail setup for the K2 Server | Type text or drag and drop a field from the Context Browser. This field is pre-populated with the value of the From Address environment library field. |
| CC | Copy in a recipient. | Type the mail address of the person who should be copied or select a dynamic field from the context browser. |
| BCC | Copy in a recipient without allowing other recipients to view Bcc addresses. | Type the mail address of the person who should be blind copied or select a dynamic field from the context browser. |
| Attachments | Drag and drop fields from the context browser for attachments. |
The following items are supported:
|
| Subject | The subject line of the e-mail - often one of the Workflow or step data fields is used to give a more precise context to the e-mail | Type text or drag and drop a field from the Context Browser |
| Message Format | The message can be displayed in HTML or Plain Text | Select the required option |
| Body | Enter the contents of the mail. Fields from the Context Browser can be dragged and dropped in the body if required | Select the required option |
For more information on the message body and toolbar, see the topic E-mail Event Wizard > Message Body.
Redirect Selected
If Redirect was selected, click Next on the Add Escalation screen and specify the user to whom the activity should be redirected. Drag and drop the user from the Context Browser onto the canvas.
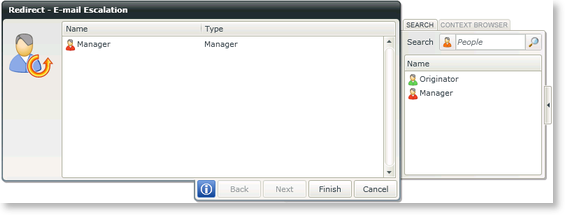
Redirect escalation
