K2 Notification Event - Custom Event
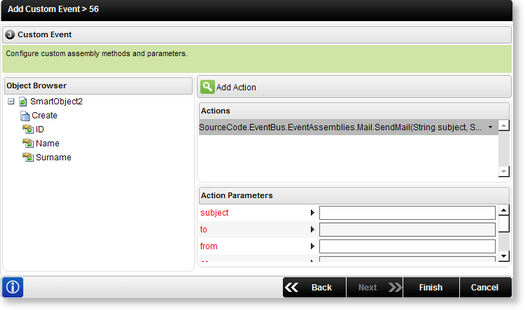
The Custom Event step in the New Event wizard allows the user to select and configure a custom assembly.

Fig. 1. New Event Wizard Step 3 - Custom Event
| Feature | What it is | How to use it |
|---|---|---|
| Object Browser | Enables the user to browse and locate SmartObject properties | Browse and locate SmartObject properties. Click the required property and drag it onto the val1 field |
| Actions | Lists the assemblies selected as the action. Multiple assemblies can be added to a custom event | Click Add Action to select the required assembly class and method. To add another assembly click Add Action again |
| Action Parameters | Define the parameters required for the selected action | Type a value in the text box or drag a SmartObject property from the Object Browser and drop it in the val1 field |
 |
To delete a configured action select Delete from the drop down list next to the action. |
Configuring Actions
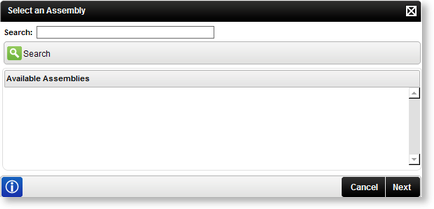
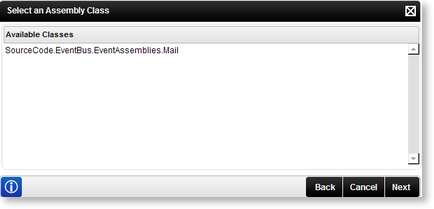
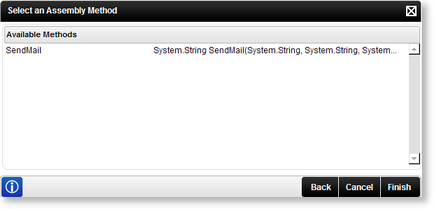
Configuring Actions associates the required assemblies with the Custom Event. The assembly class and method must be selected when configuring the Action. Click Add Action to select the required Assembly, Assembly Class and Assembly Method.

Fig. 2. New Event Wizard Step 3 - Select an Assembly

Fig. 3. New Event Wizard Step 3 - Select an Assembly Class

Fig. 4. New Event Wizard Step 3 - Select an Assembly Method
