SharePoint Records Management Wizard - Metadata
The Metadata wizard screen provides an easy to use interface to assign Metadata to the created hold. Each hold created in the Records Center contains Metadata. The Metadata contains the Title, Description and Managed By information. This Metadata information is added to the hold by using the Metadata tab.
 |
To add Metadata, select the value and click Assign |
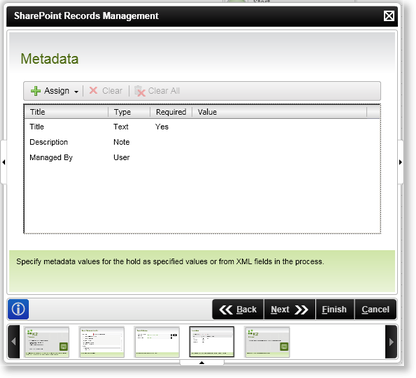
Fig. 1. SharePoint Records Management Event Wizard - Metadata
| Feature | What it is | How to use it |
|---|---|---|
| Assign |
To assign Metadata, select the Drop Down Arrow and select the relevant option:
|
Select an option |
| Clear | Removes the selected Metadata | Click on the configured setting and select this option, to remove a configured setting |
| Clear All | Removes All the configured Metadata | To remove all the configured settings, select this option |
| Title | Displays the title of the Metadata | User Reference |
| Type | Displays the type of Metadata | User Reference |
| Required | Displays whether the value is required | User Reference |
| Value | Displays the value | User Reference |
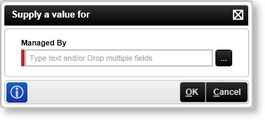
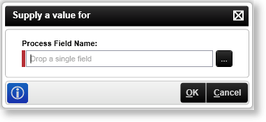
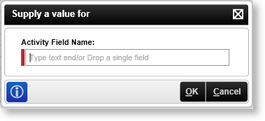
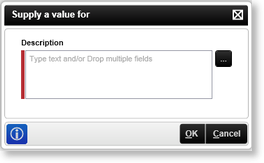
Assign Metadata values
Depending on the selection made on the Assign tab, the following screens will be displayed that can be used to assign specific Metadata values to the selected Metadata fields.

See Also
