Packaging a workflow created with K2 Studio
K2 Package and Deployment can be used to transfer a K2 Process created in K2 Studio from one environment to another. This example shows the transfer of a simple approval process created with E-mail events. This example does not show all the steps for creating the workflow process, and assumes that the user has previous experience in designing with K2 Studio.
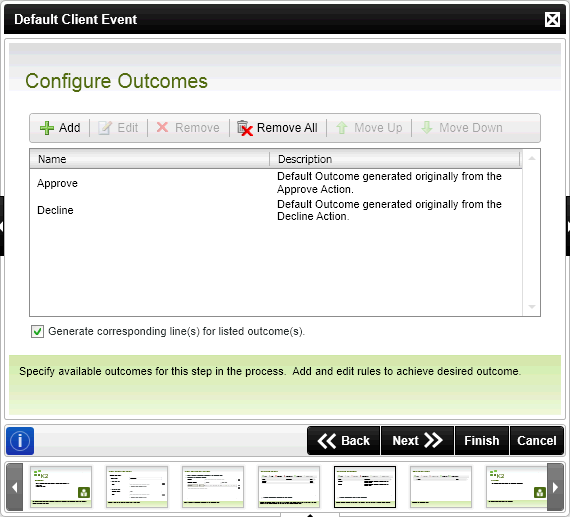
- In K2 Studio, create a workflow process called DemoProcess1. Add a Default Client Event with two outcome actions, as shown below:
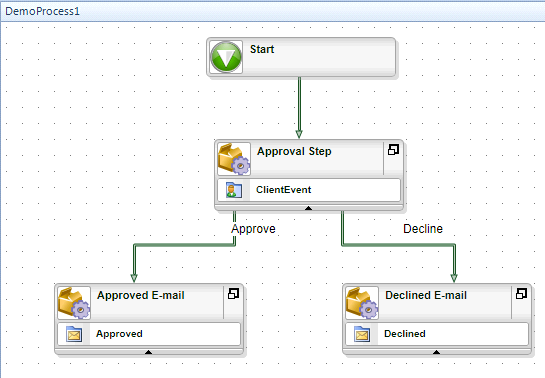
- Add two e-mail events. Connect one event to the Approve action, and the other to the Decline action as shown below:
- Deploy the workflow process.
- Open K2 Package and Deployment. Select the Create New Package option.
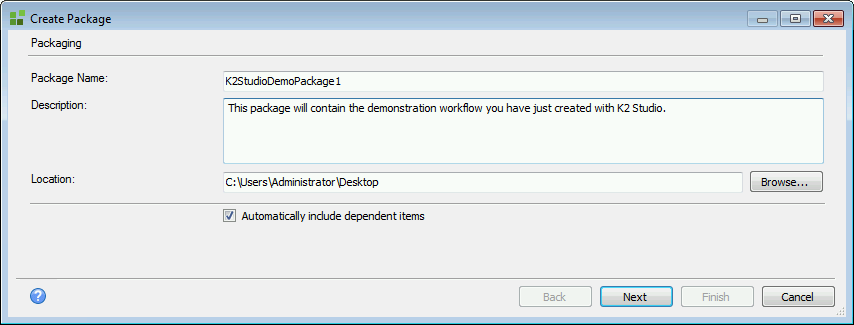
- Enter K2StudioDemoPackage1 in the Package Name text box.
- Make sure that the Automatically include dependent items check box is checked.
- Click Next to navigate to the Create Package window. Click the Add Item button to navigate to the Add Items screen. Check the check box for the DemoProcess1 item.
- Click OK to navigate to the Edit Package window.
- In the Edit Package window, click on the Mail Server node to load the Properties.
- In the Properties column, right-click on the FieldDescription with the Mail Server string value. Select the Assign variable option.
- In the Variables screen, click on the Add button.
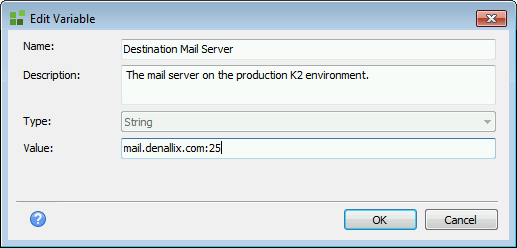
- Enter a name and description for the variable. In the Value field, enter the Mail Server connection string for the K2 environment that this package will be deployed to.
- Click OK.
- Click Finish to create and save the package.
- In the target K2 environment, open K2 Package and Deployment. Select the Deploy Package option.
- In the Select Package window, use the Browse button to navigate to where you saved the K2StudioDemoProcess1.kspx package created in the previous section.
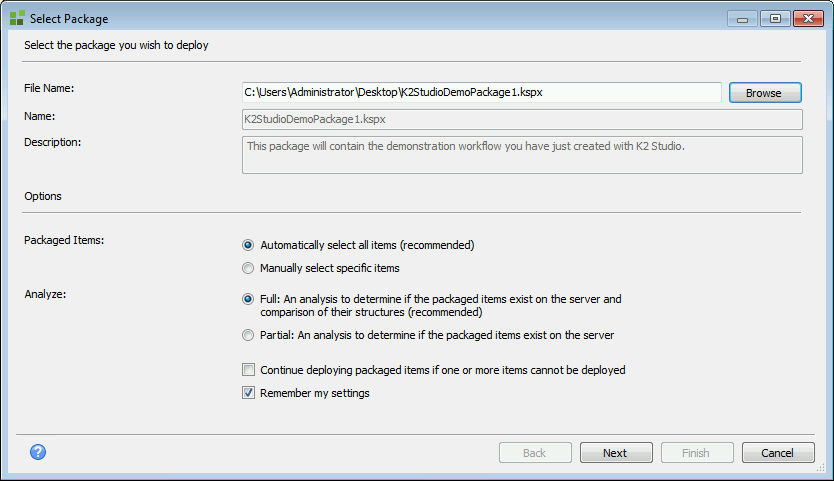
- As this is a clean environment, the Action column will show that new objects will be deployed.
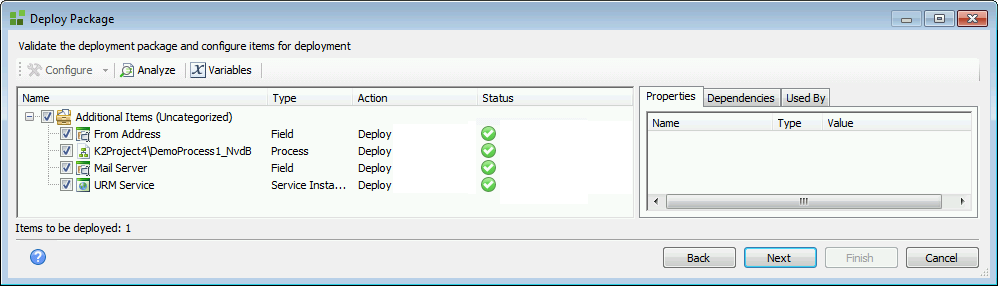
- As there are no previous definitions for this process in the new K2 environment, there are no conflicts to resolve. The Status of each of the artifacts to be deployed shows as Ready.
- Click Next. The assigned Variables will now be shown.
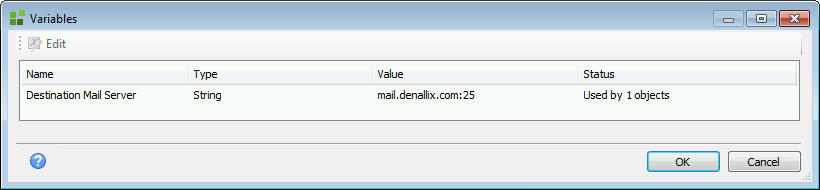
- Click OK to continue. The deployment will take place.
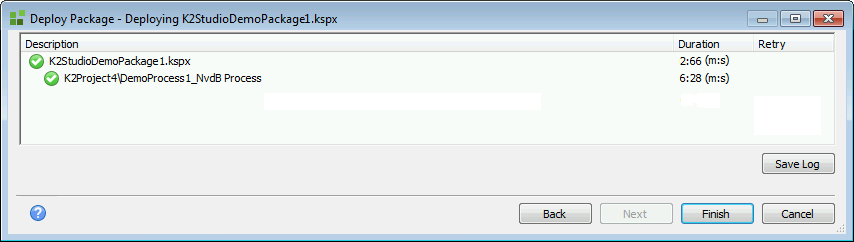
- In this example, all the artifacts have successfully been deployed to the new K2 environment. If you need to save a log of this action, click Save Log.
- Click Finish to close the Deployment wizard.