37. (Optional) Clean up your K2 environment by deleting the application artifacts
This optional step describes how you can clean your K2 environment by deleting the artifacts that you created in this tutorial. For example, if you are working in a shared environment, you may want to delete your tutorial applications to keep your environment clean and tidy.
Delete application elements for the Expense Claim list.
In this step, you delete the workflow, views, forms, and SmartObjects that you generated for the Expense Claim list.
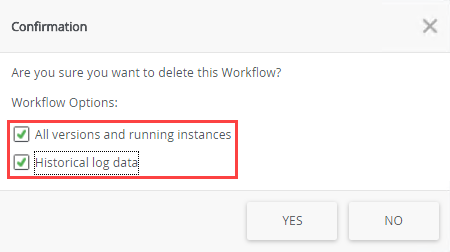
- From the Expense Claim application elements page, select the Expense Claim Workflow and click Delete. You see a message that gives you the options to delete all versions and historical log data. Check both of these options and click Yes.
- You delete artifacts from the Expense Claim application elements page. To navigate to the application elements page, open the Expense Claim list. Click the List tab, then click the Application button in the K2 group.

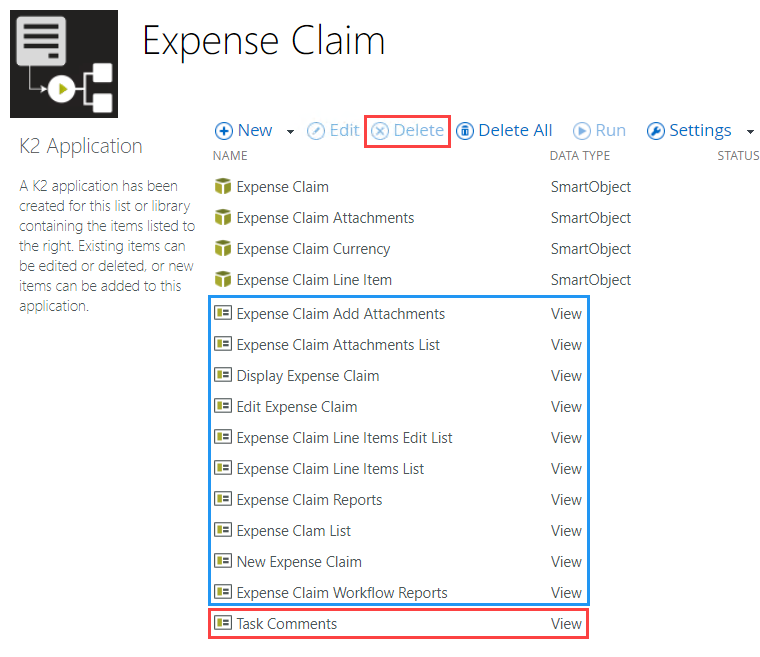
- On the application elements page, you see a list of artifacts K2 generated when you first created the elements, plus the artifacts you added later. You will begin by deleting the workflow. Select the Expense Claim Workflow and click the Delete button.

- You see a confirmation message asking if you want to delete all versions and running instances, as well as historical log data. Check the box for each option and click Yes.
- Next, you delete forms. You should delete forms before views. Select the Expense Claim Workflow Reports form and click Delete. Click Yes for the confirmation. Repeat this step and delete the remaining forms.

- Now, you can delete the views. Select the Task Comments view and click Delete. Click Yes for the confirmation. Repeat this step and delete the remaining views.
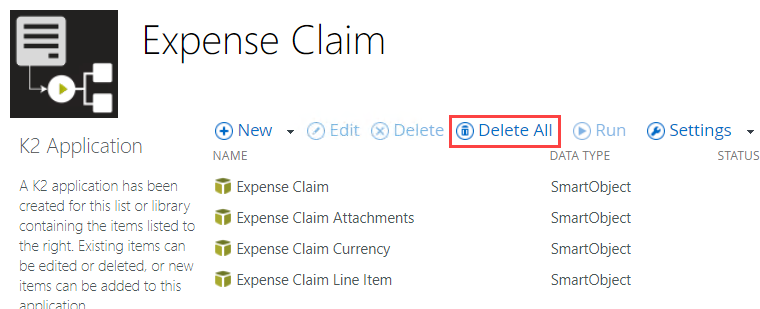
- Click Delete All. You may be wondering if you can just click the Delete All button in the first place. You can! Be aware however, that you are deleting all the artifacts at one time.
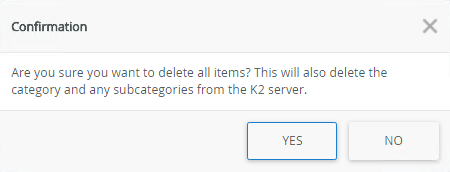
- You see a confirmation message that tells you all items are removed, including categories. Click Yes.
It may take a few minutes for K2 to process the command. First, K2 deletes any active process instances, then it deletes all versions of the workflow. Typically, there is a new version each time you deploy the workflow, so you may have several versions to delete. The process is complete when you no longer see the workflow listed in the artifacts.
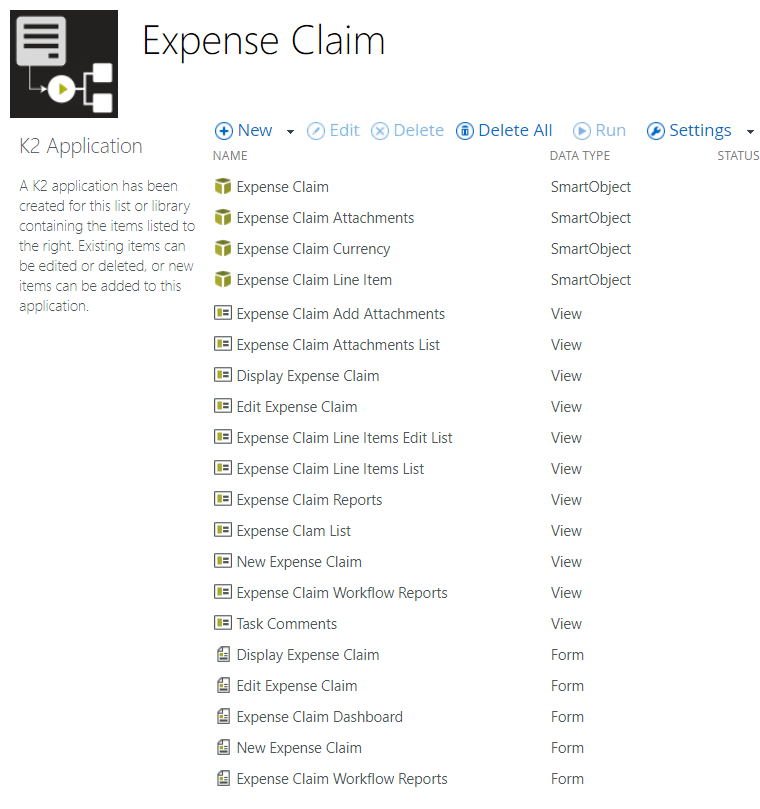
In the steps above, you deleted artifacts individually. To complete the process however, you need to delete the remaining four SmartObjects. You cannot delete the SmartObjects individually from the application elements page. This is because of the underlying associations between SmartObjects generated by K2, and associations you applied. For example, you created an association between the Expense Claim Line Item SmartObject and the Expense Claim and Expense Claim Currency SmartObjects.
- You delete artifacts from the Expense Claim application elements page. To navigate to the application elements page, open the Expense Claim list. Click the List tab, then click the Application button in the K2 group.
From the K2 Management site, delete the SQL and EndPoints service instances.
In this step, you delete the two service instances created for this application.
- Delete the K2 Tutorial SQL Database and K2 Tutorial Currency Web Service service instances.
Location: Integration > Service Instances.- In K2 Management, expand the Integration node. In the central pane, enter
K2
into the search box, then click the refresh button. This narrows the results returned. You want the two K2 Tutorial service instances.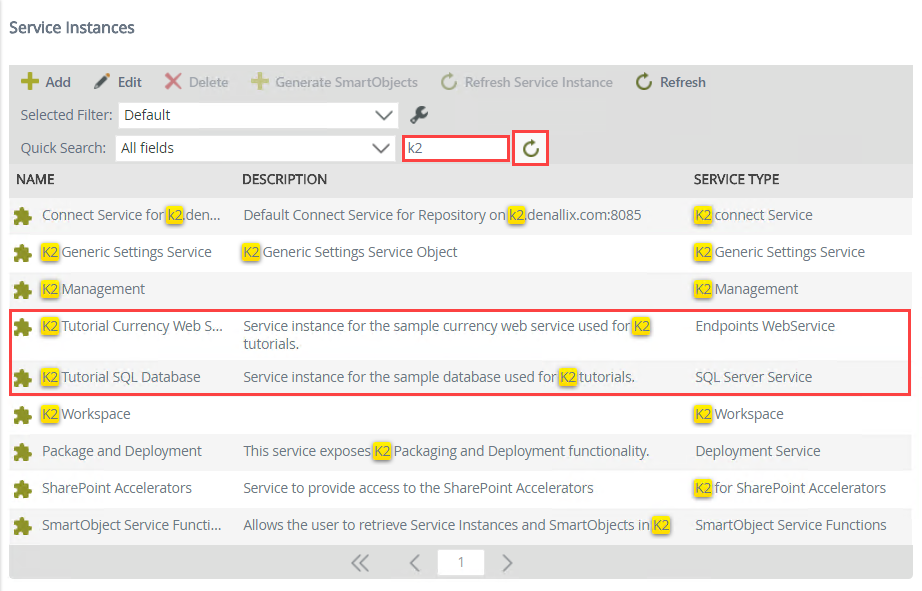
- Select K2 Tutorial Currency Web Service and click Delete. Click OK when you see the confirmation.
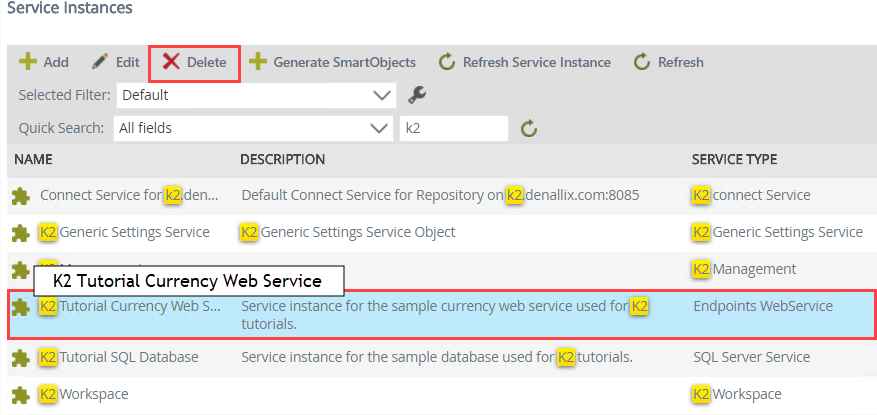
- Select K2 Tutorial SQL Database and click Delete. Click OK when you see the confirmation.
- In K2 Management, expand the Integration node. In the central pane, enter
Finish the clean-up by deleting the SharePoint groups, Expense Claim list, site page, and subsite.
In this step, you return to SharePoint and delete the two groups created for approving and processing expense claims. You delete the Expense Claim list and the reporting dashboard site page. Finally, you delete the subsite (if you created one).
- In SharePoint, delete the Expense Claim Approvers and Expense Claim Processing groups. Delete the Expense Claim list and the ExpenseClaimDashboard site page. Delete the subsite (if you created one for this project).
- In SharePoint, open the Site Settings page, then click the People and groups link. Click the Groups heading at the top of the left column to expose all the groups in the central pane. Locate the Expense Claim Approvers group and click the Edit icon.

- Scroll down to the bottom of the screen and click Delete. Click OK when you see the confirmation message.

- Repeat the steps above and delete the Expense Claim Processing group.
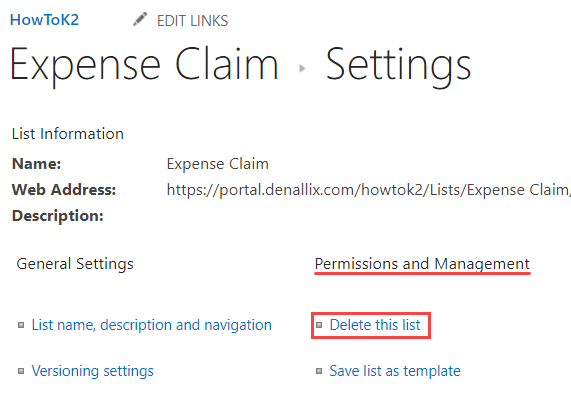
- Next, you can delete the Expense Claim list. Navigate to the list, then open List Settings. Under the Permissions and Management heading, click the Delete this list link. Click OK for the confirmation.
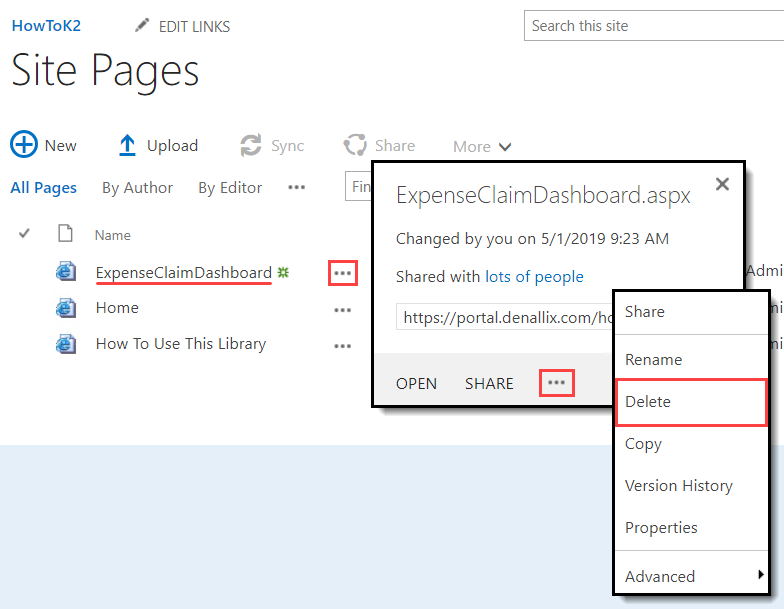
- The last page to delete is the Expense Claim Dashboard. Open Site Contents and click on the Site Pages app. Open the settings for the ExpenseClaimDashboard page. Open the advanced menu. Click Delete. Click OK for the confirmation message.
- Delete the subsite (if you created one). Contact your SharePoint administrator for instructions on deleting sites in your environment.
- In SharePoint, open the Site Settings page, then click the People and groups link. Click the Groups heading at the top of the left column to expose all the groups in the central pane. Locate the Expense Claim Approvers group and click the Edit icon.
Summary
You have completed the Expense Claim (SharePoint) tutorial! You learned how to create a more advanced application incorporating the four primary K2 components: data, forms, workflow, reports.
Now that you have completed this tutorial, you should know:
- How to integrate external data sources like web services and SQL databases into SmartObjects for use in a single application.
- How to create your own data storage using SmartBox SmartObjects.
- How to build more advanced forms using K2 smartforms, with features such as:
- integrating with external systems through SmartObjects
- complex rules with validation and actions
- using expressions and aggregation
- using read-only list views and editable list views
- using states to control the form’s layout and behavior
- building header/detail forms
- How to build a workflow with user tasks, system tasks, and rework outcomes.
- How to build custom reports using the reporting controls on a SmartForm.
- How to clean your environment by deleting artifacts no longer needed.