4. Create the K2 Application Elements for the Expense Claim List
There are four primary components to a K2 application: data, forms, workflow, and reports. Components interact with each other to form a complete application. You have already created two data elements in the previous step (the external data source connections). In this step, you generate application elements from the Expense Claim list, creating the base SmartObject, views, forms, and reports for the application. You will create the workflow element in a later step, to demonstrate how to manually build a workflow.
-
From the Expense Claims list in SharePoint, generate Data, Forms and Reports application elements. You do not need to allow the SmartObject use in the legacy workflow designer. Use K2 smartforms as the new, edit, and display forms for the list/library. You will not generate the workflow at this time.
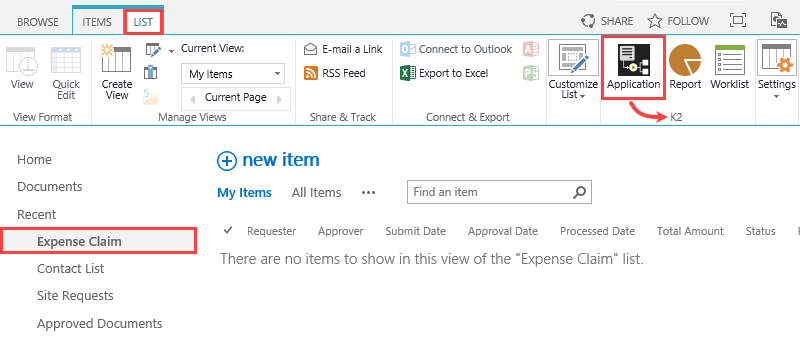
- Return to your SharePoint site, then navigate to the Expense Claim list. Click the LIST tab, then click the Application icon in the K2 group.
- Select the Data, Forms, and Reports application elements.
- Data: UNCHECK the legacy workflow designer box. You are using the new Workflow Designer.
- Forms: CHECK the box to use SmartForms as the new, edit, and display forms.
- Workflow: Do not select the Workflow option just yet, you will add your workflow in a later step.
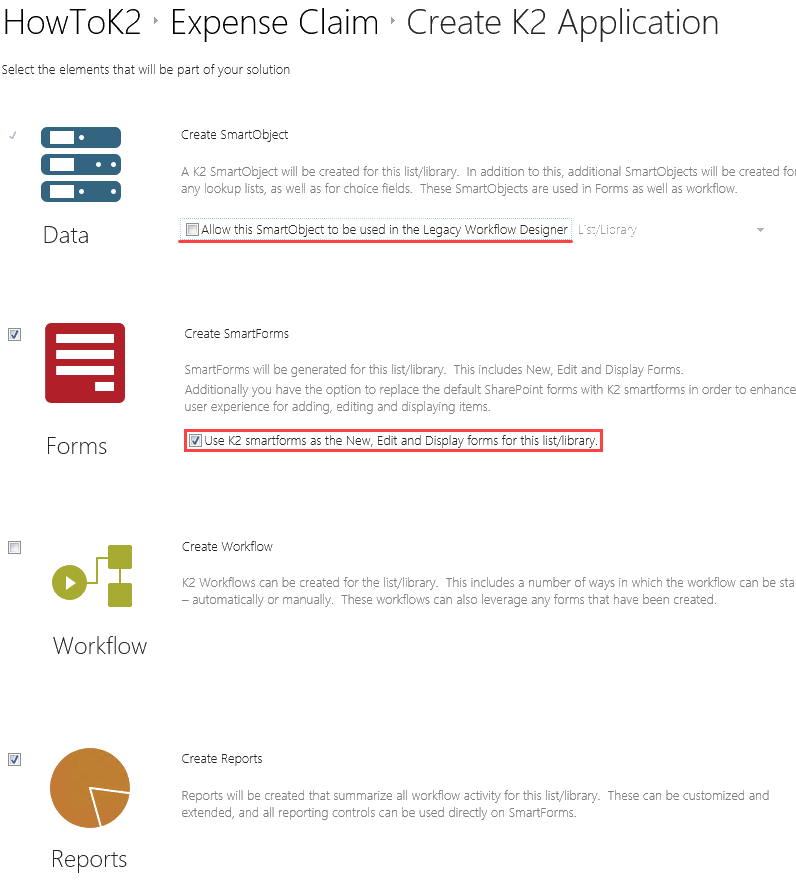
You are now on the Create K2 Application page. You can select from the four components: data, forms, workflow, and reports. Because you are generating application elements from a list, K2 assumes you want to create a SmartObject to interact with the list, so K2 preselects the data option for you. The forms component generates new, edit, and display forms, which you can use in place of the standard SharePoint forms. SmartForms allow greater flexibility to edit both the layout and behavior over SharePoint forms. The reports component generates out-of-the-box reports that you can extend using reporting controls for SmartForms.
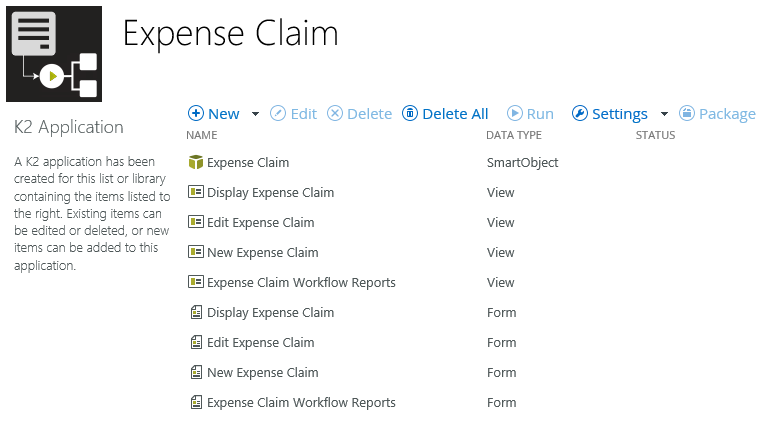
After the elements generate, the K2 Application elements page opens. The base application elements include new, edit, and display views and forms, the Expense Claim SmartObject, and the reporting elements.
- Return to your SharePoint site, then navigate to the Expense Claim list. Click the LIST tab, then click the Application icon in the K2 group.
Review
In this step, you generated the data, forms, and reports application elements from the Expense Claim list. The elements include views, forms, and a SmartObject. In a later step, you will add the workflow element manually. In the next step, you create another data component. This is a new SmartObject that stores the "details" records, or expense claim line items.