5. Add an Update Document Properties Step
In this step, you begin the workflow build by adding an Update Document Properties step. You will configure the step to update the document's Approve Status property to pending. This lets your users know you have submitted the document for approval. You will add this same step several times as you build your workflow. This way, the status property always reflects the current state of the workflow progress.
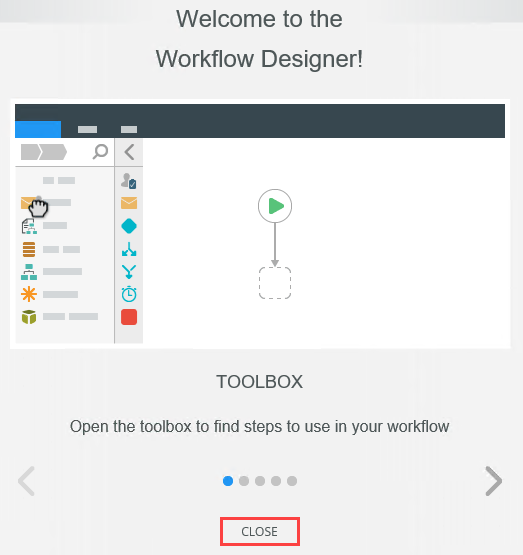
You may also see a series of pop-ups with brief how-to explanations. Click GOT IT to continue with the tutorial steps.
The K2 Workflow Designer environment contains four primary sections:
- the Toolbox on the left-side of the page
- the Design Canvas in the center of the page
- the Configuration Panel on the right-side of the page
- the Context Browser located within the Configuration Panel
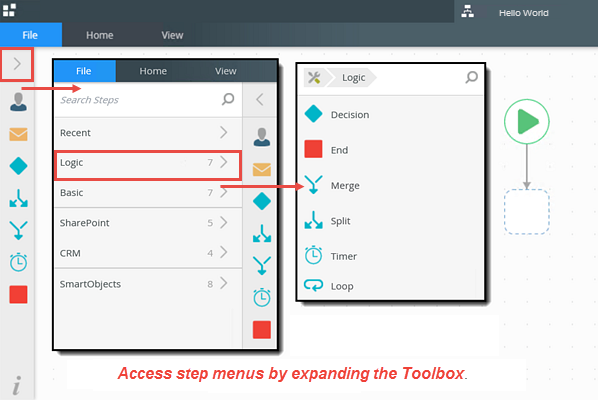
The Toolbox is where you will find the different types of steps that you can add to a workflow. You can drag and drop the steps you need for your workflow onto the canvas. User steps usually involve human interaction, such as a person having to make a decision for the workflow to continue. System steps, such as sending an email or updating data in some other system, are performed by the K2 server. Lines connect steps to each other, and define the "path" that the workflow will follow.
Accessing steps in the Toolbox
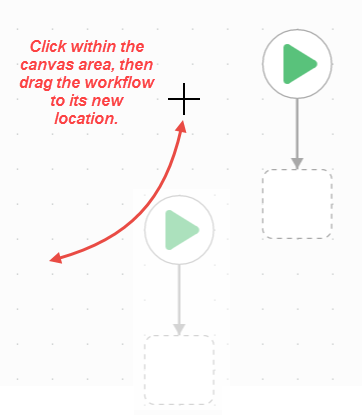
The Design Canvas is where you drag and drop the steps you need for constructing your workflow. You can move the workflow around by clicking within the canvas, then dragging your mouse to a new location. This is helpful if your workflow is larger than your browser screen.
Moving the workflow around the design canvas
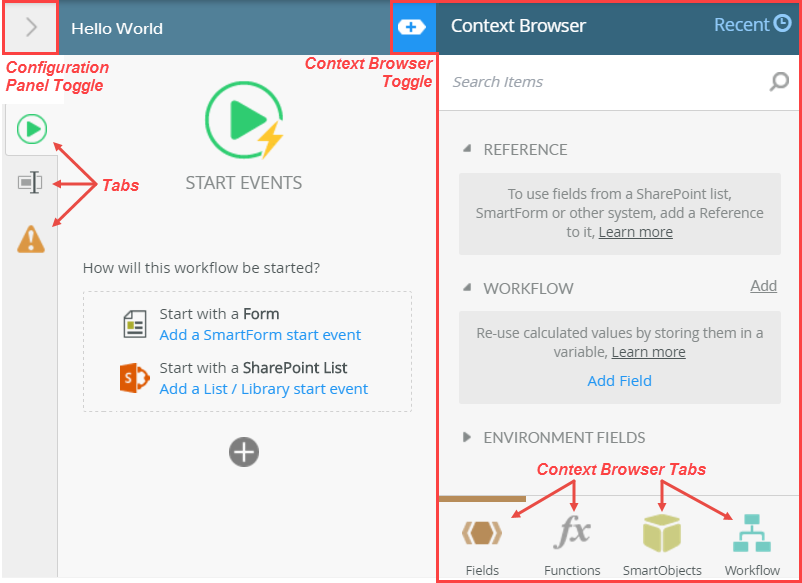
The Configuration Panel contains the settings for each step. After highlighting a step on the canvas and expanding the Configuration Panel, the Configuration Panel will display a series of tabs. The tabs are specific to the step type. The Configuration Panel also contains the Context Browser. The Context Browser provides access to variables, functions, SmartObjects, and workflow variables.
Accessing step tabs in the Configuration Panel; expanding the Context Browser
-
Use the Update Document Properties step to set the document’s Approve Status property to Pending Approval. Because the Reviewers and Approvers properties are required, you must enter a value into these fields as well or you will not be able to continue with the wizard. Drag the Context Browser > REFERENCES > Documents to Review and Approve > Reviewers property into the Reviewers field and the Approvers property into the Approvers field. Change the step name to Set Status Pending Approval.
- Expand the Toolbox slider to expose the menu. From the Toolbox > SharePoint > Document node, drag an Update Document Properties step into the empty placeholder below the Start step. The Start step has the green triangle.
 When adding a step to the workflow design canvas, you may see a red warning badge. This badge simply indicates the step has required configurations. When you expand the Configuration Panel, the required configuration is also flagged.
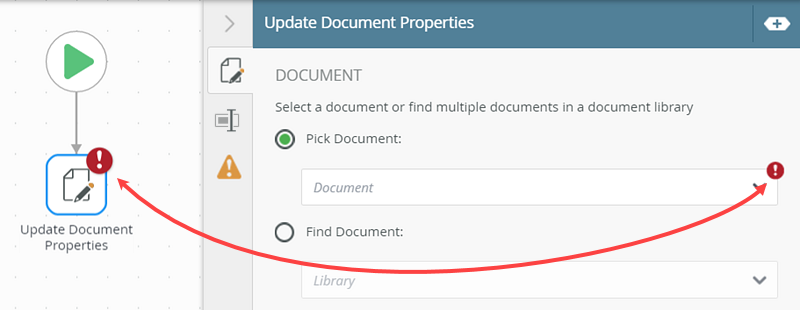
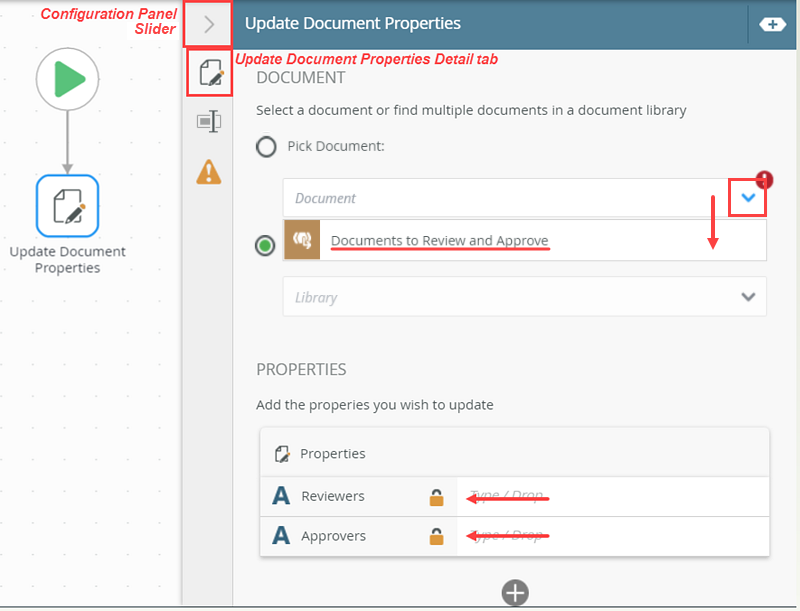
- Select the Update Document Properties step (it should have a blue border when selected). Expand the Configuration Panel. Click the Update Document Properties Detail tab to make it active. Set the Pick Document option to Documents to Review and Approve. (When you click the menu arrow for the Pick Document option, notice that K2 displays the Document to Review and Approve library. K2 assumes you want to update the record you are currently working on.) Under the PROPERTIES heading, notice the Reviewers and Approvers properties. Because you marked these as required columns in SharePoint, K2 forces you to enter a value of some kind to proceed. (You also want to enter a value for the status property.)
- Click the Add (+) icon. CHECK the box for the Approve Status column. For the value, enter
Pending Approval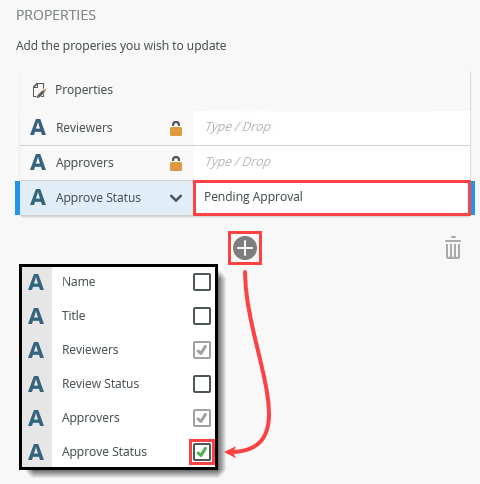
- Fields: This section contains references to SharePoint lists, SmartForms, and SmartObjects. You can also create variables to hold and use data within the workflow itself, such as to store record IDs.
- Functions: This section contains tools for transforming data. Some examples include performing calculations, formatting text, and working with date and time values.
- SmartObjects: This section contains system and custom SmartObject references.
- Workflow: This section contains process variables. Examples include the originator's name, email, manager, and folio.
- Expand the Context Browser. Expand the Documents to Review and Approve SmartObject under the REFERENCES heading. Drag the Reviewers property into the Reviewers (properties to update) text box and drag the Approvers property into the Approvers text box. Collapse the Context Browser.
A reference is essentially an association between a workflow instance and record(s) in some data store. For example, an item added to a SharePoint list starts a workflow. K2 creates a reference between the workflow instance and the item that was created in the SharePoint List. This allows you to easily work with the list item that started the workflow.
Next, you will add the status property to the list of properties to update.
Now you will set the values for the Reviewers and the Approvers columns. You will find these values in the Context Browser.
The Context Browser provides access to data about the current user and process, as well as functions and SmartObject data. You can use variables dragged from the Context Browser throughout the configuration of workflow steps. At runtime, K2 replaces the variables with "live" data. There are four tabs: - Expand the Toolbox slider to expose the menu. From the Toolbox > SharePoint > Document node, drag an Update Document Properties step into the empty placeholder below the Start step. The Start step has the green triangle.
- Rename the new step to Set Status Pending Approval.
- Next, you will rename the step so that it makes sense in the workflow structure. Click the General Properties tab. Name the step
Set Status Pending Approval
then collapse the Context Browser and then theConfiguration Panel.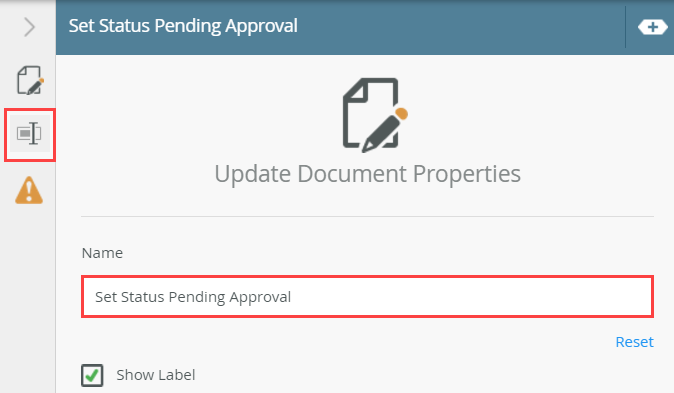
Your workflow should look like the image below at this point.

- Next, you will rename the step so that it makes sense in the workflow structure. Click the General Properties tab. Name the step
Review
In this step, you added an Update Document Properties step. You set the status column as pending, so your users will know the document is waiting approval. You used references from the Documents to Review and Approve SmartObject for the Approvers and Reviewers values. At runtime, K2 replaces these references with the actual value entered by the workflow originator. In the next step, you will add and configure the user task for approving the document.