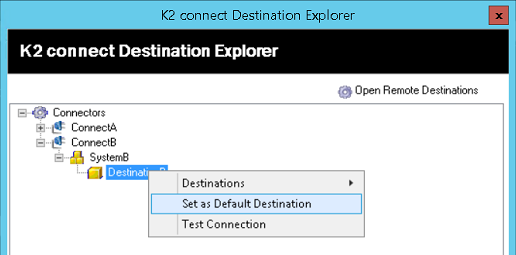
Configure Destinations
Use the Configure Destination option in the K2 connect Server Configuration window to view and manage existing local and remote Destinations for your SAP instance. Add new destinations by entering the name of the SAP Instance, its IP address, and a suitable set of credentials. The Destination is a SAP instance that is available as a resource to the local environment that you can compose and run a Service Object against. When you have more than one Destination or SAP Instance, the default destination is used to run Service Objects.
The Destination created in one K2 connect Server can be shared and made available to other K2 connect Server instances on the network. If a clustered environment is configured, then the Destination must be shared. For more information on how to use a shared Destination, see the Distributed Configuration section in the Post Installation Configuration Steps topic.
You can enable logging which will enable tracing and full RFC traces are generated.
Create a Destination
Follow these steps to create a Destination:
- Open the Administration Tool from the Start > K2 connect for SAP menu.
- Click on Settings from the General section.
- Click on Configure Destinations.
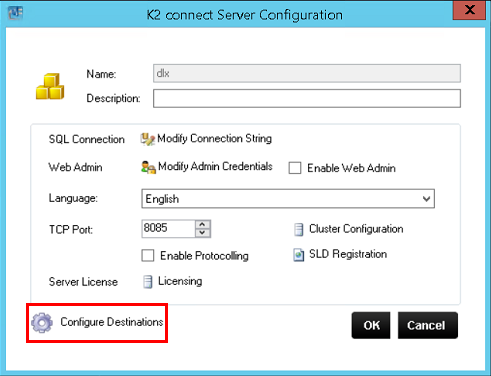
- From the K2 connect Destination Explorer, right click on Connectors and select Connectors > Add.

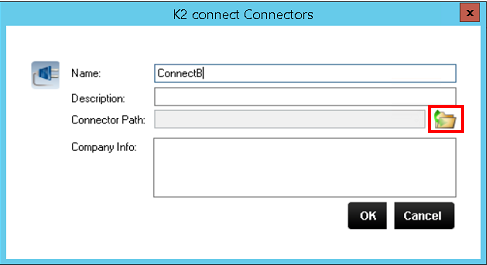
- Type a name and description for the Connector.
- Click on the folder icon to browse to the Connector path.
- The browser will open the correct location by default to select the SourceCode.ServiceObjectModel.ERP.Connect.dll.
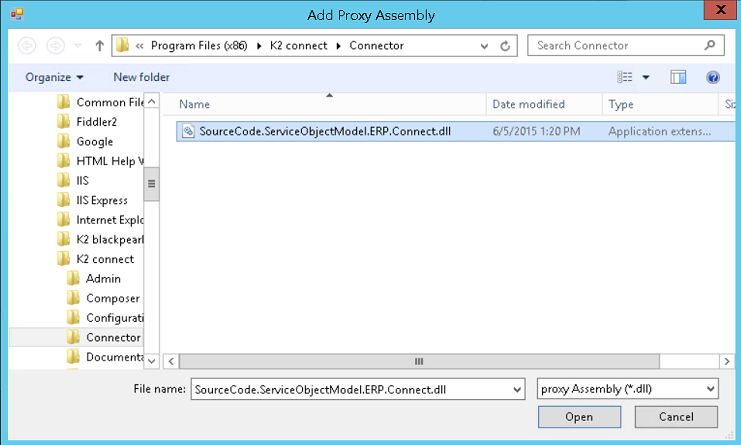
- Click Open and click OK.
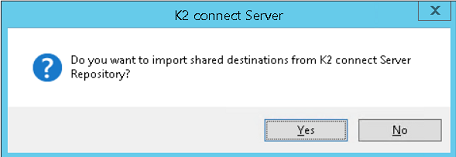
- If you are creating this Connector on a standalone environment or the first K2 connect Server in a distributed environment, click No when asked if you want to import shared Destinations.
If this is done on a second K2 connect Server, click Yes to import a shared destination created on the first K2 connect Server.
- Right click on the Connector just created and select Systems > Add.
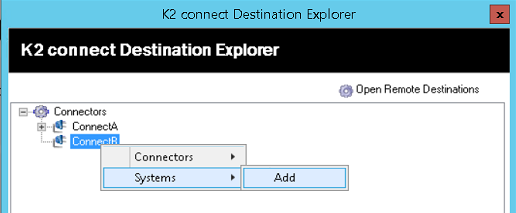
- Type a name and description for the System and click OK.
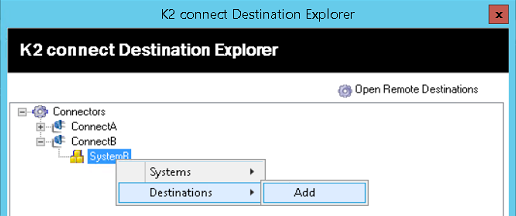
- Right click on the System just created and select Destinations > Add.
- Type a name and description for the Destination. Do not enable the Share this Destination option in a standalone environment. You can however enable this option if the configuration is done in a cluster environment on the first K2 connect Server. The Destination can then be imported from other K2 connect Servers as described in step 9 above.
- Add the connection string. The connection string contains the relevant information to establish a connection with an SAP instance.
The format of the connection string is: ashost= [IP Address] sysnr=[NR] client =[NR] lang = [LANGUAGE] user = [USERNAME] passwd = [PASSWORD].
See the Modify Connection String section in the Configure the K2 connect Server topic for more details.
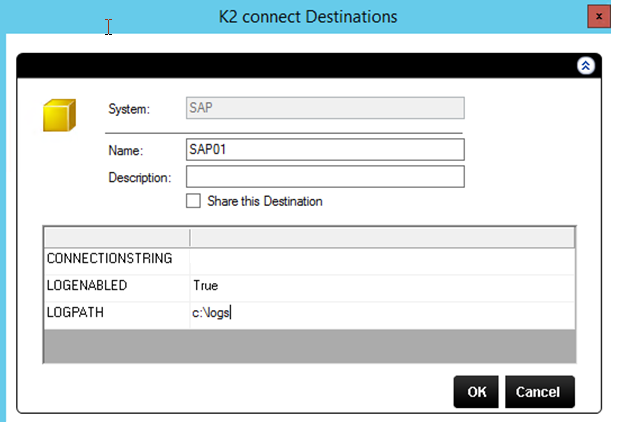
- Enable logging for troubleshooting issues with destinations. By default logging is disabled. The following settings are available:
Setting Function Default LOGENABLED = False (or empty)
LOGPATH = non existing pathLogging is disabled. No files generated. Yes LOGENABLED = True
LOGPATH = non existing pathLogging is disabled. No files generated. LOGENABLED = False (or empty)
LOGPATH = existing pathLogging is activated. Files are generated in specified directory. Only RFC errors are traced. LOGENABLED = True
LOGPATH = existing pathLogging is activated. Files are generated in specified directory. Full RFC traces are generated. - Click OK.
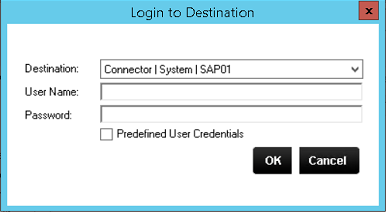
- Click Yes to test the connection and use the Predefined User Credentials.
- To set the Destination as the default, right click the Destination and select Set as Default Destination.
